Growing and Harvesting
October
October in the Nursery Garden: What to Grow and Harvest
October brings a noticeable shift in the nursery garden. The days become shorter, leaves begin to fall and the growing season starts to slow, but there is still plenty for young gardeners to discover. This is a wonderful month for gathering the last of autumn’s fruit, preparing growing spaces for winter and planting hardy seeds that will wait beneath the soil before bursting into life.
This month, children can plant broad beans and explore the hidden process of germination. They can also harvest apples, notice the signs of autumn and discover how seasonal produce can be tasted, cooked and shared with wildlife.
What to Grow
Broad Beans
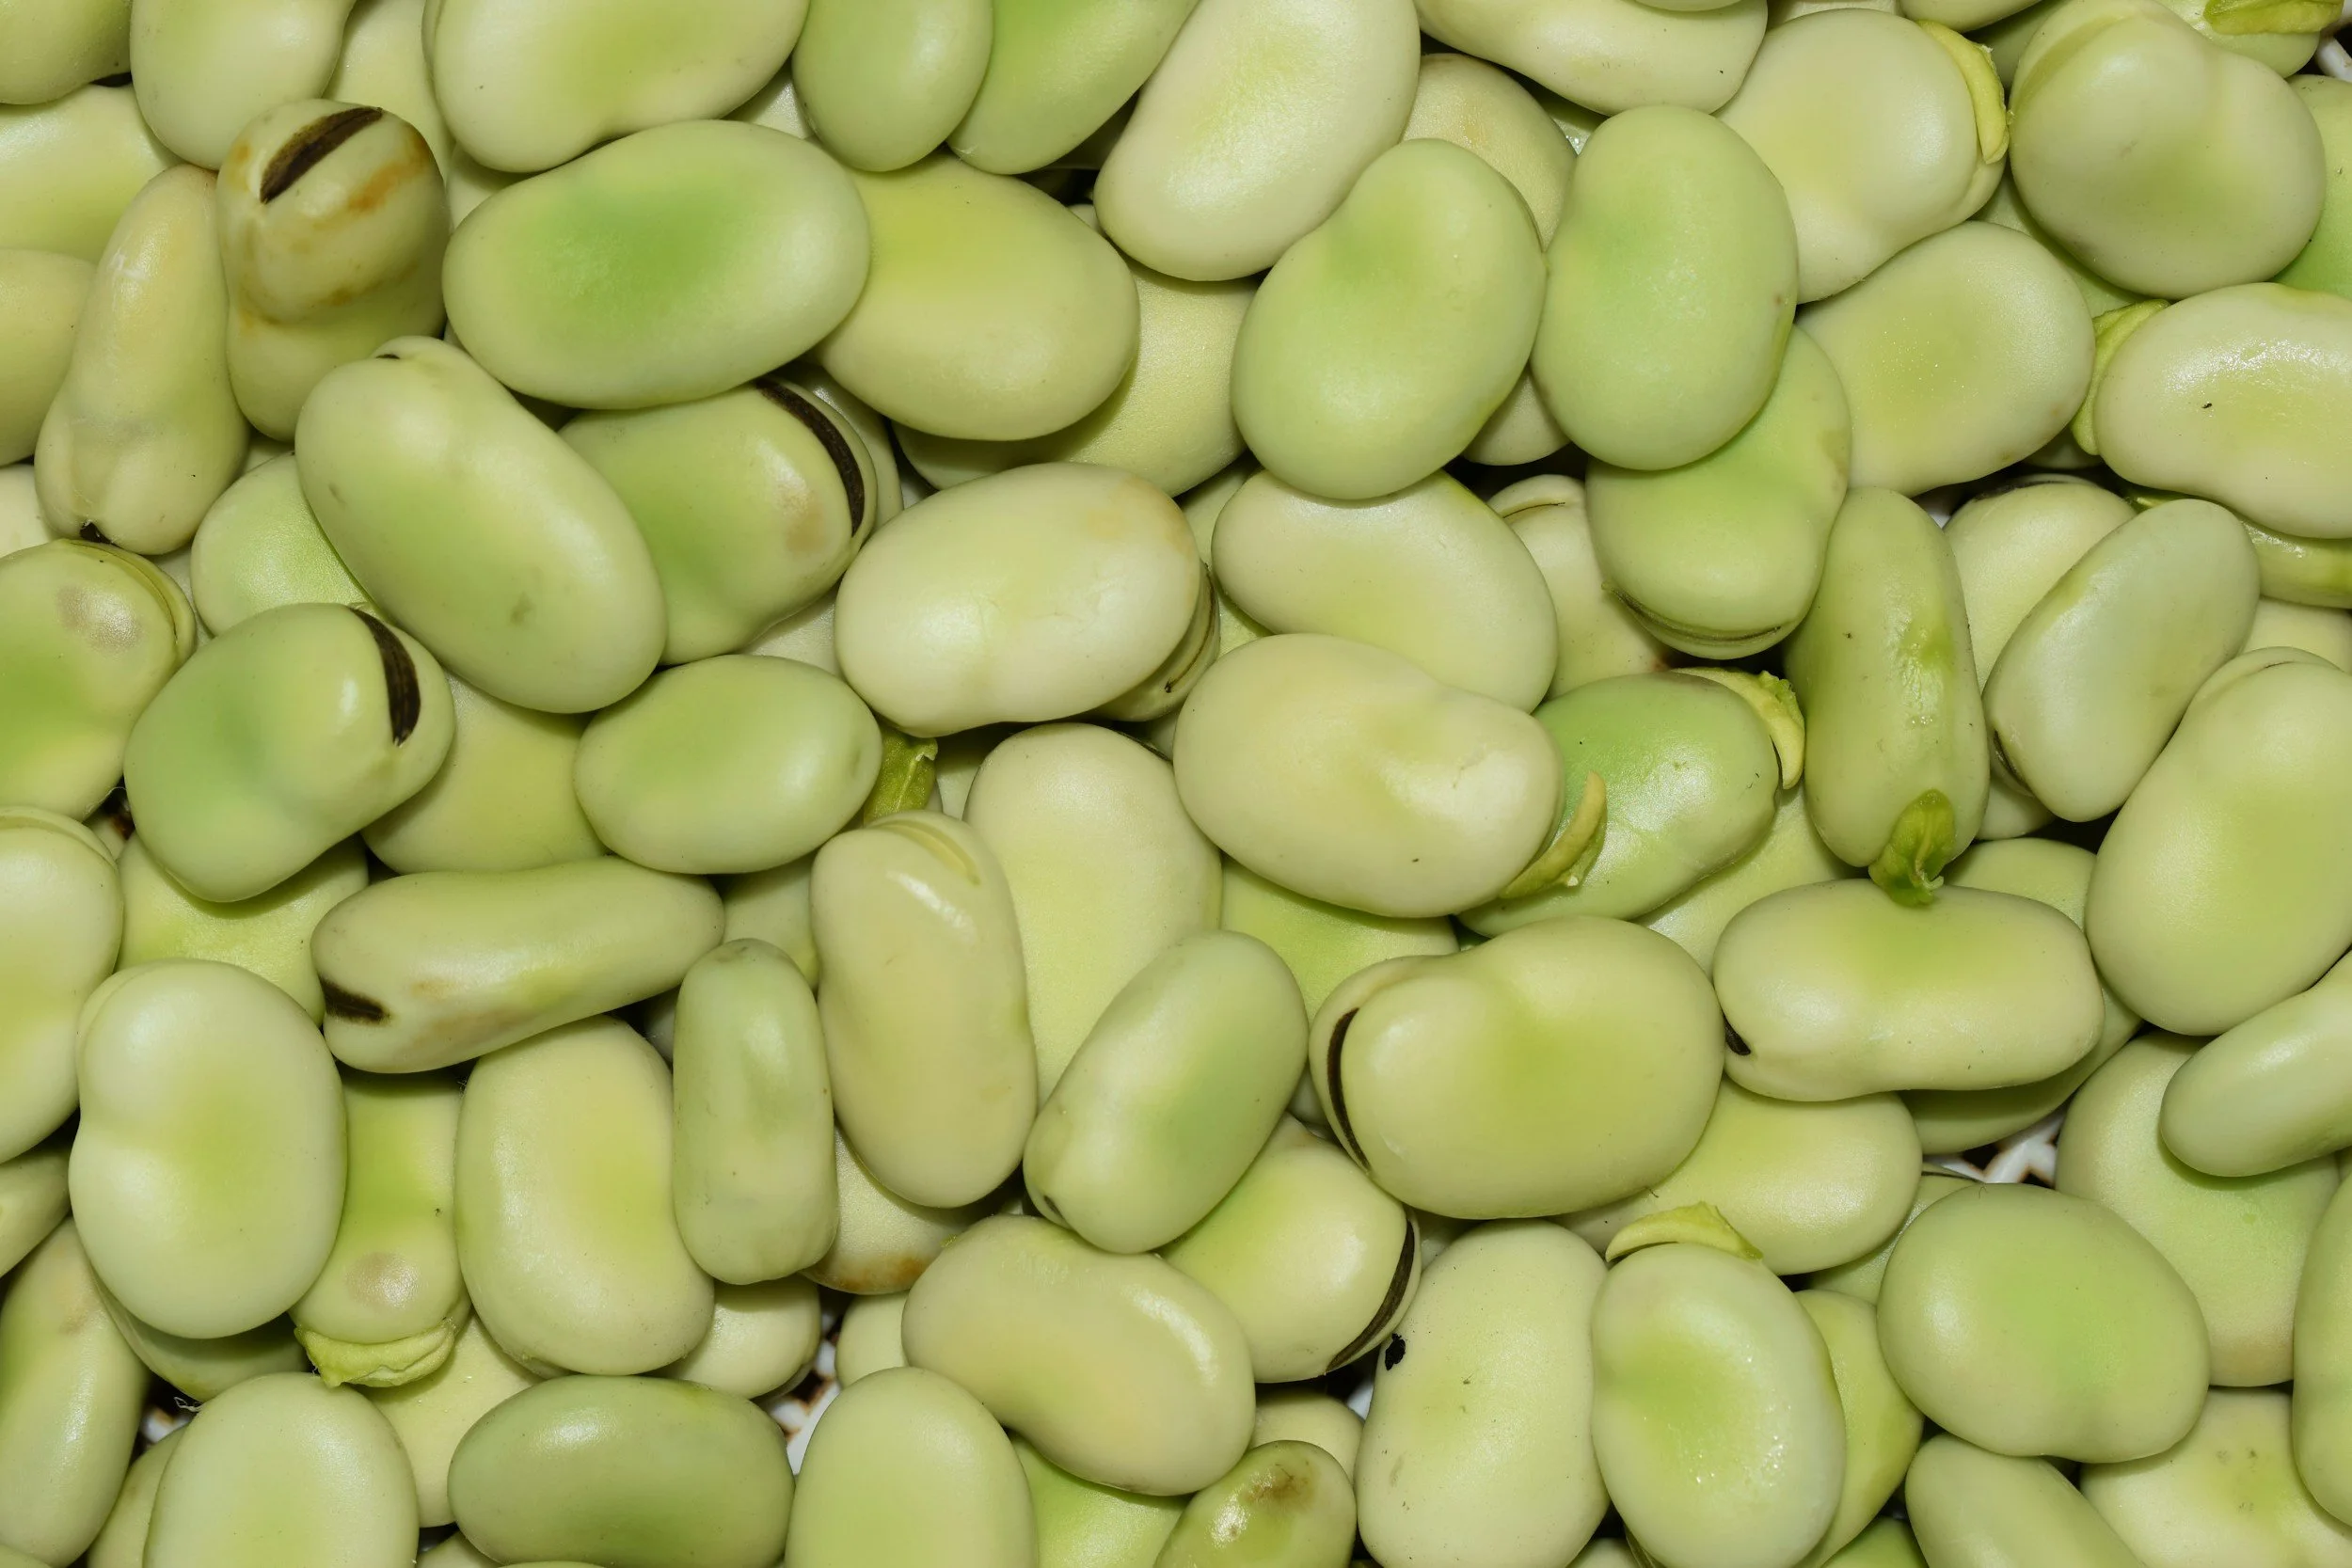
Broad beans are large, easy for small hands to hold and simple to plant, making them ideal for nursery gardens. Hardy varieties can be planted in October in mild or sheltered locations, ready to produce an earlier crop the following year.
Where to Find the Seeds
Broad bean seeds are readily available from garden centres, seed suppliers and online gardening retailers. Choose a hardy variety suitable for autumn sowing, such as ‘Aquadulce Claudia’.
If your garden is particularly cold, exposed or prone to becoming waterlogged, plant the beans in individual pots of peat-free compost and keep them in a sheltered cold frame or unheated greenhouse. Alternatively, wait until spring before sowing outdoors.
You will need
Broad bean seeds suitable for autumn sowing
A sunny, sheltered growing space or large container
Peat-free compost or well-drained garden soil
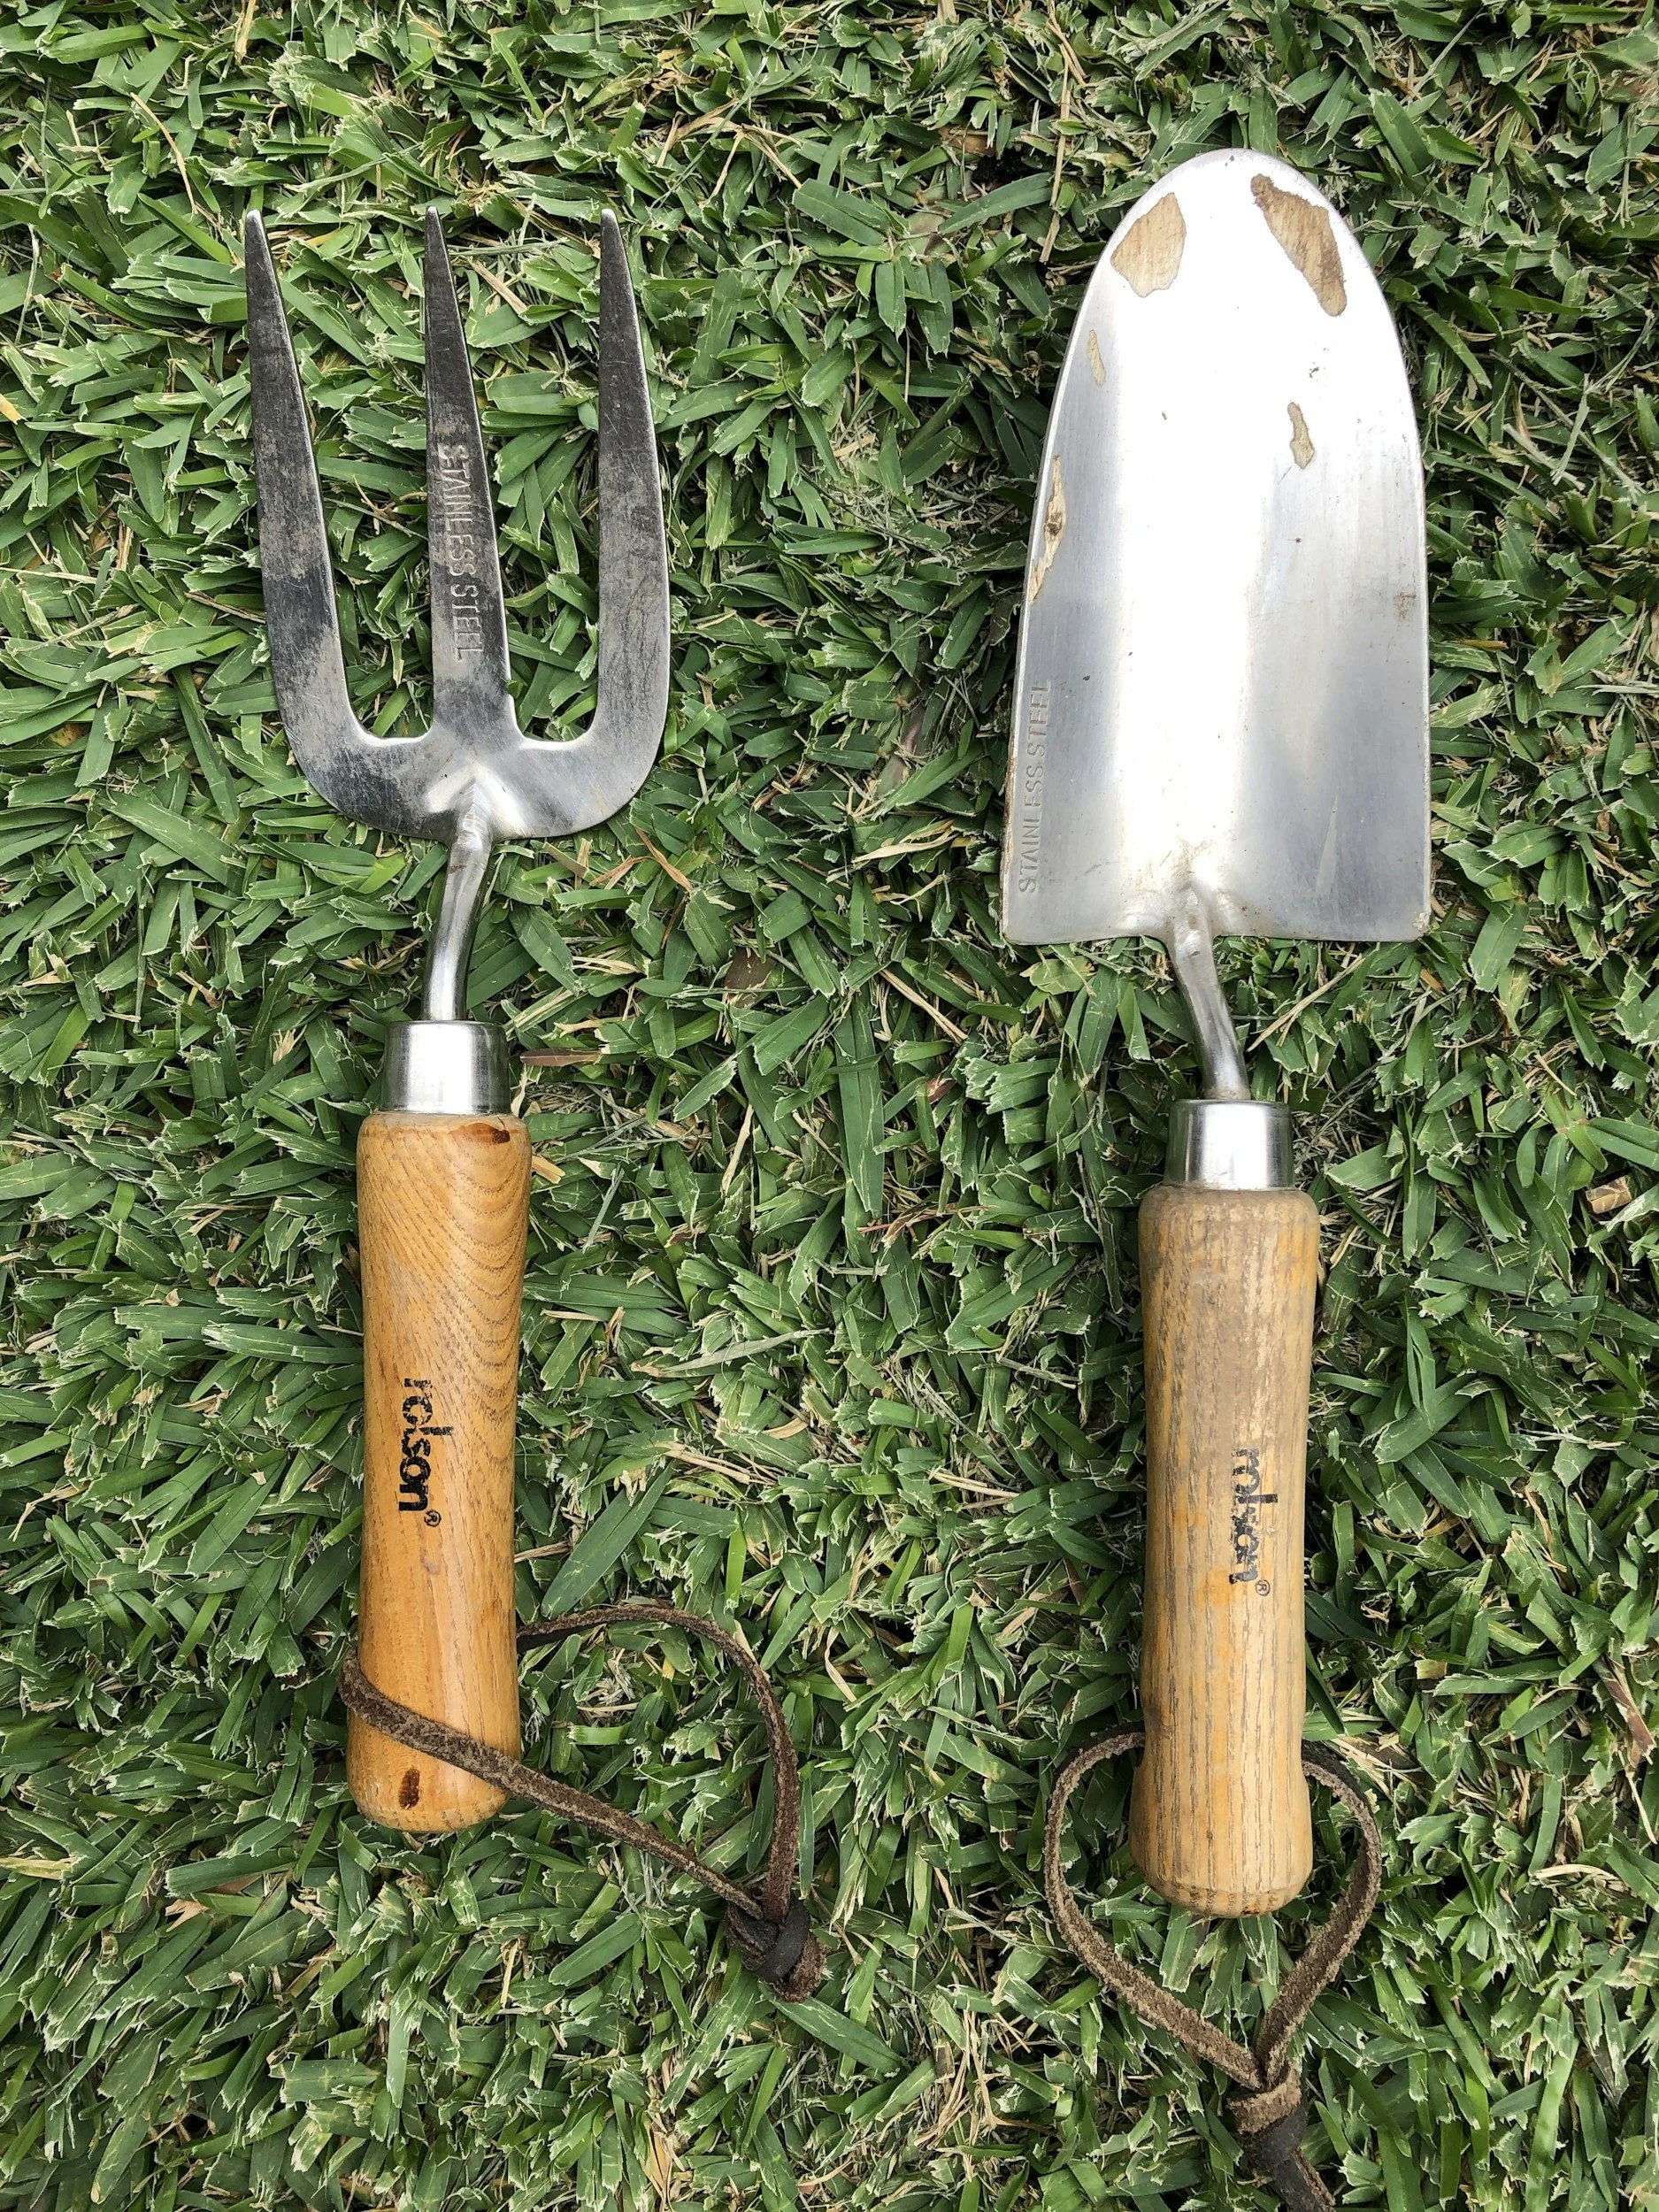
Child-sized trowels
A stick marked at 5cm to measure planting depth
A 15cm spacing stick
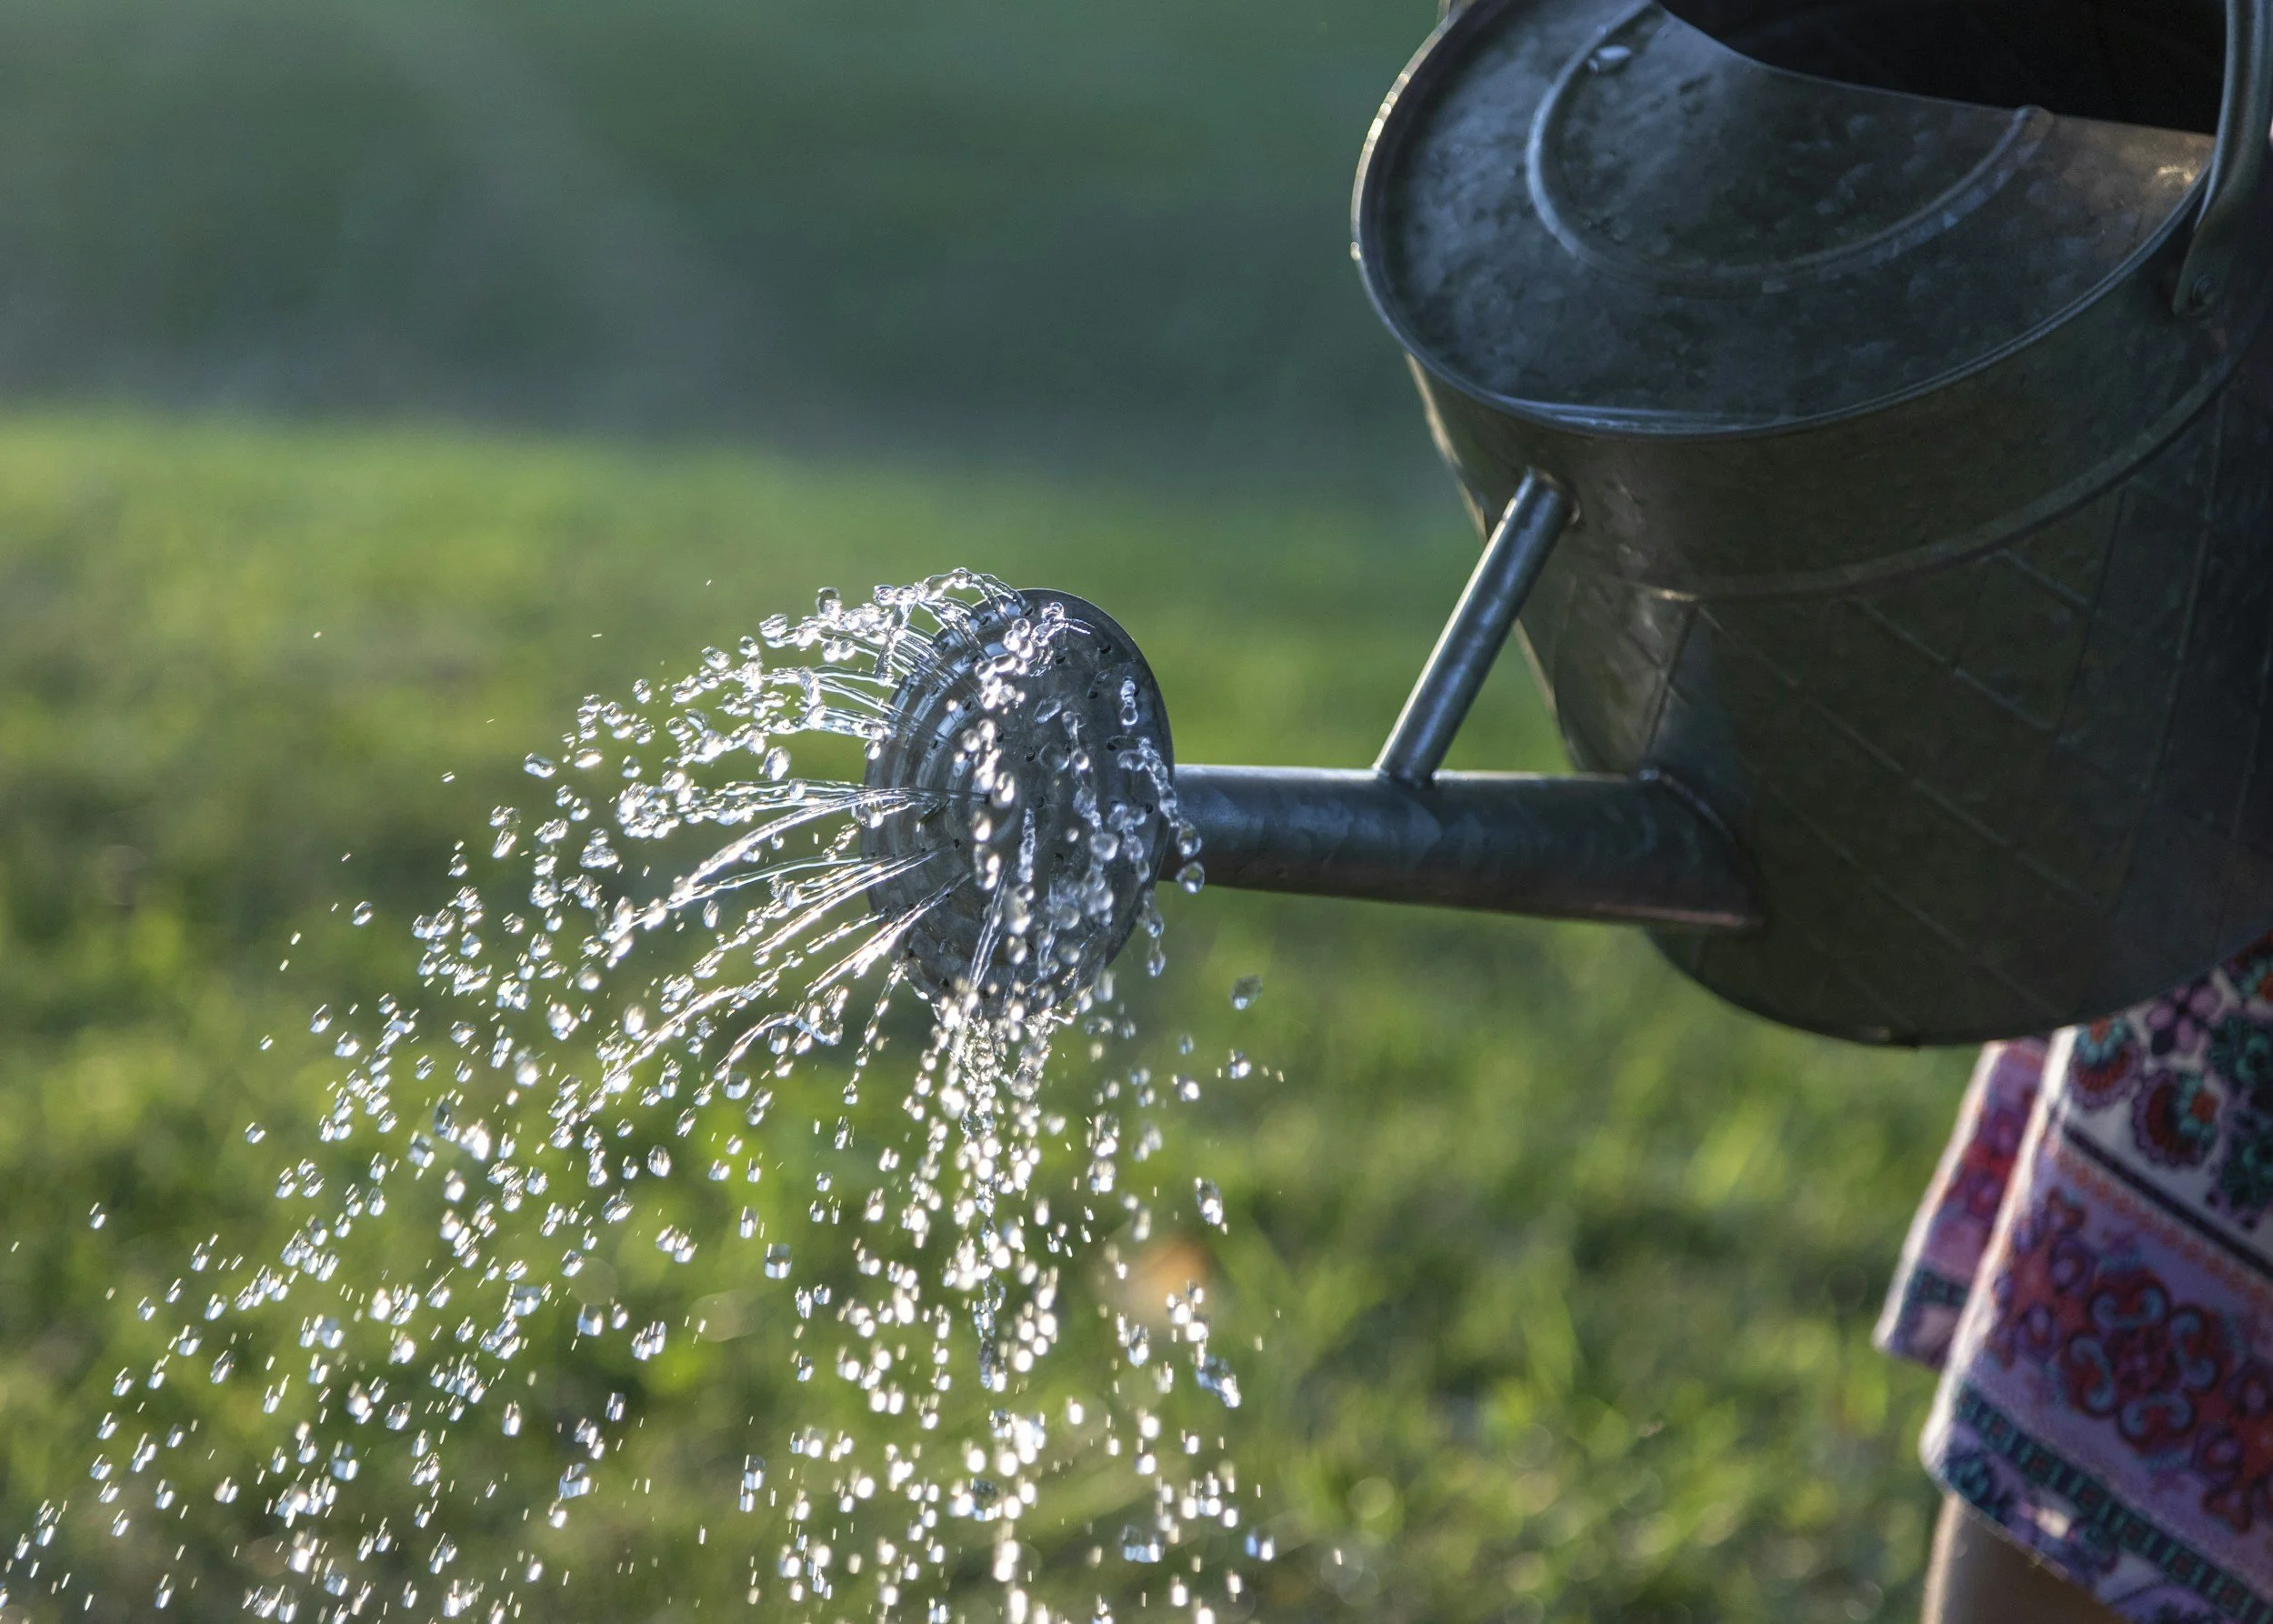
Watering cans
Plant labels and pencils
Optional fleece or cloches for protection during cold weather

Method
Choose the growing space:
Find a sunny or lightly shaded, sheltered area where rainwater does not sit on the surface. Broad beans can also be grown in a large container filled with peat-free compost.
Prepare the soil:
Invite the children to remove weeds, loosen the soil and mix through some garden compost if needed.
Make the planting holes:
Use the marked stick to make holes approximately 5cm deep. Space the holes around 15cm apart.
Plant the beans:
Place one bean into each hole, cover it with soil and press down gently.
Water carefully:
Give the beans a drink without soaking the soil or leaving it waterlogged.
Add labels:
Record what was planted and the date. Children could add their names or decorate their own plant markers.
Observe over time:
Revisit the growing space regularly and look for the first shoots. Record changes through photographs, drawings or a simple class growing diary.
Extend the learning
Before planting, encourage children to examine the beans closely and predict what might happen beneath the soil. Soak a few additional beans overnight and carefully open them to reveal the beginnings of the new plant inside.
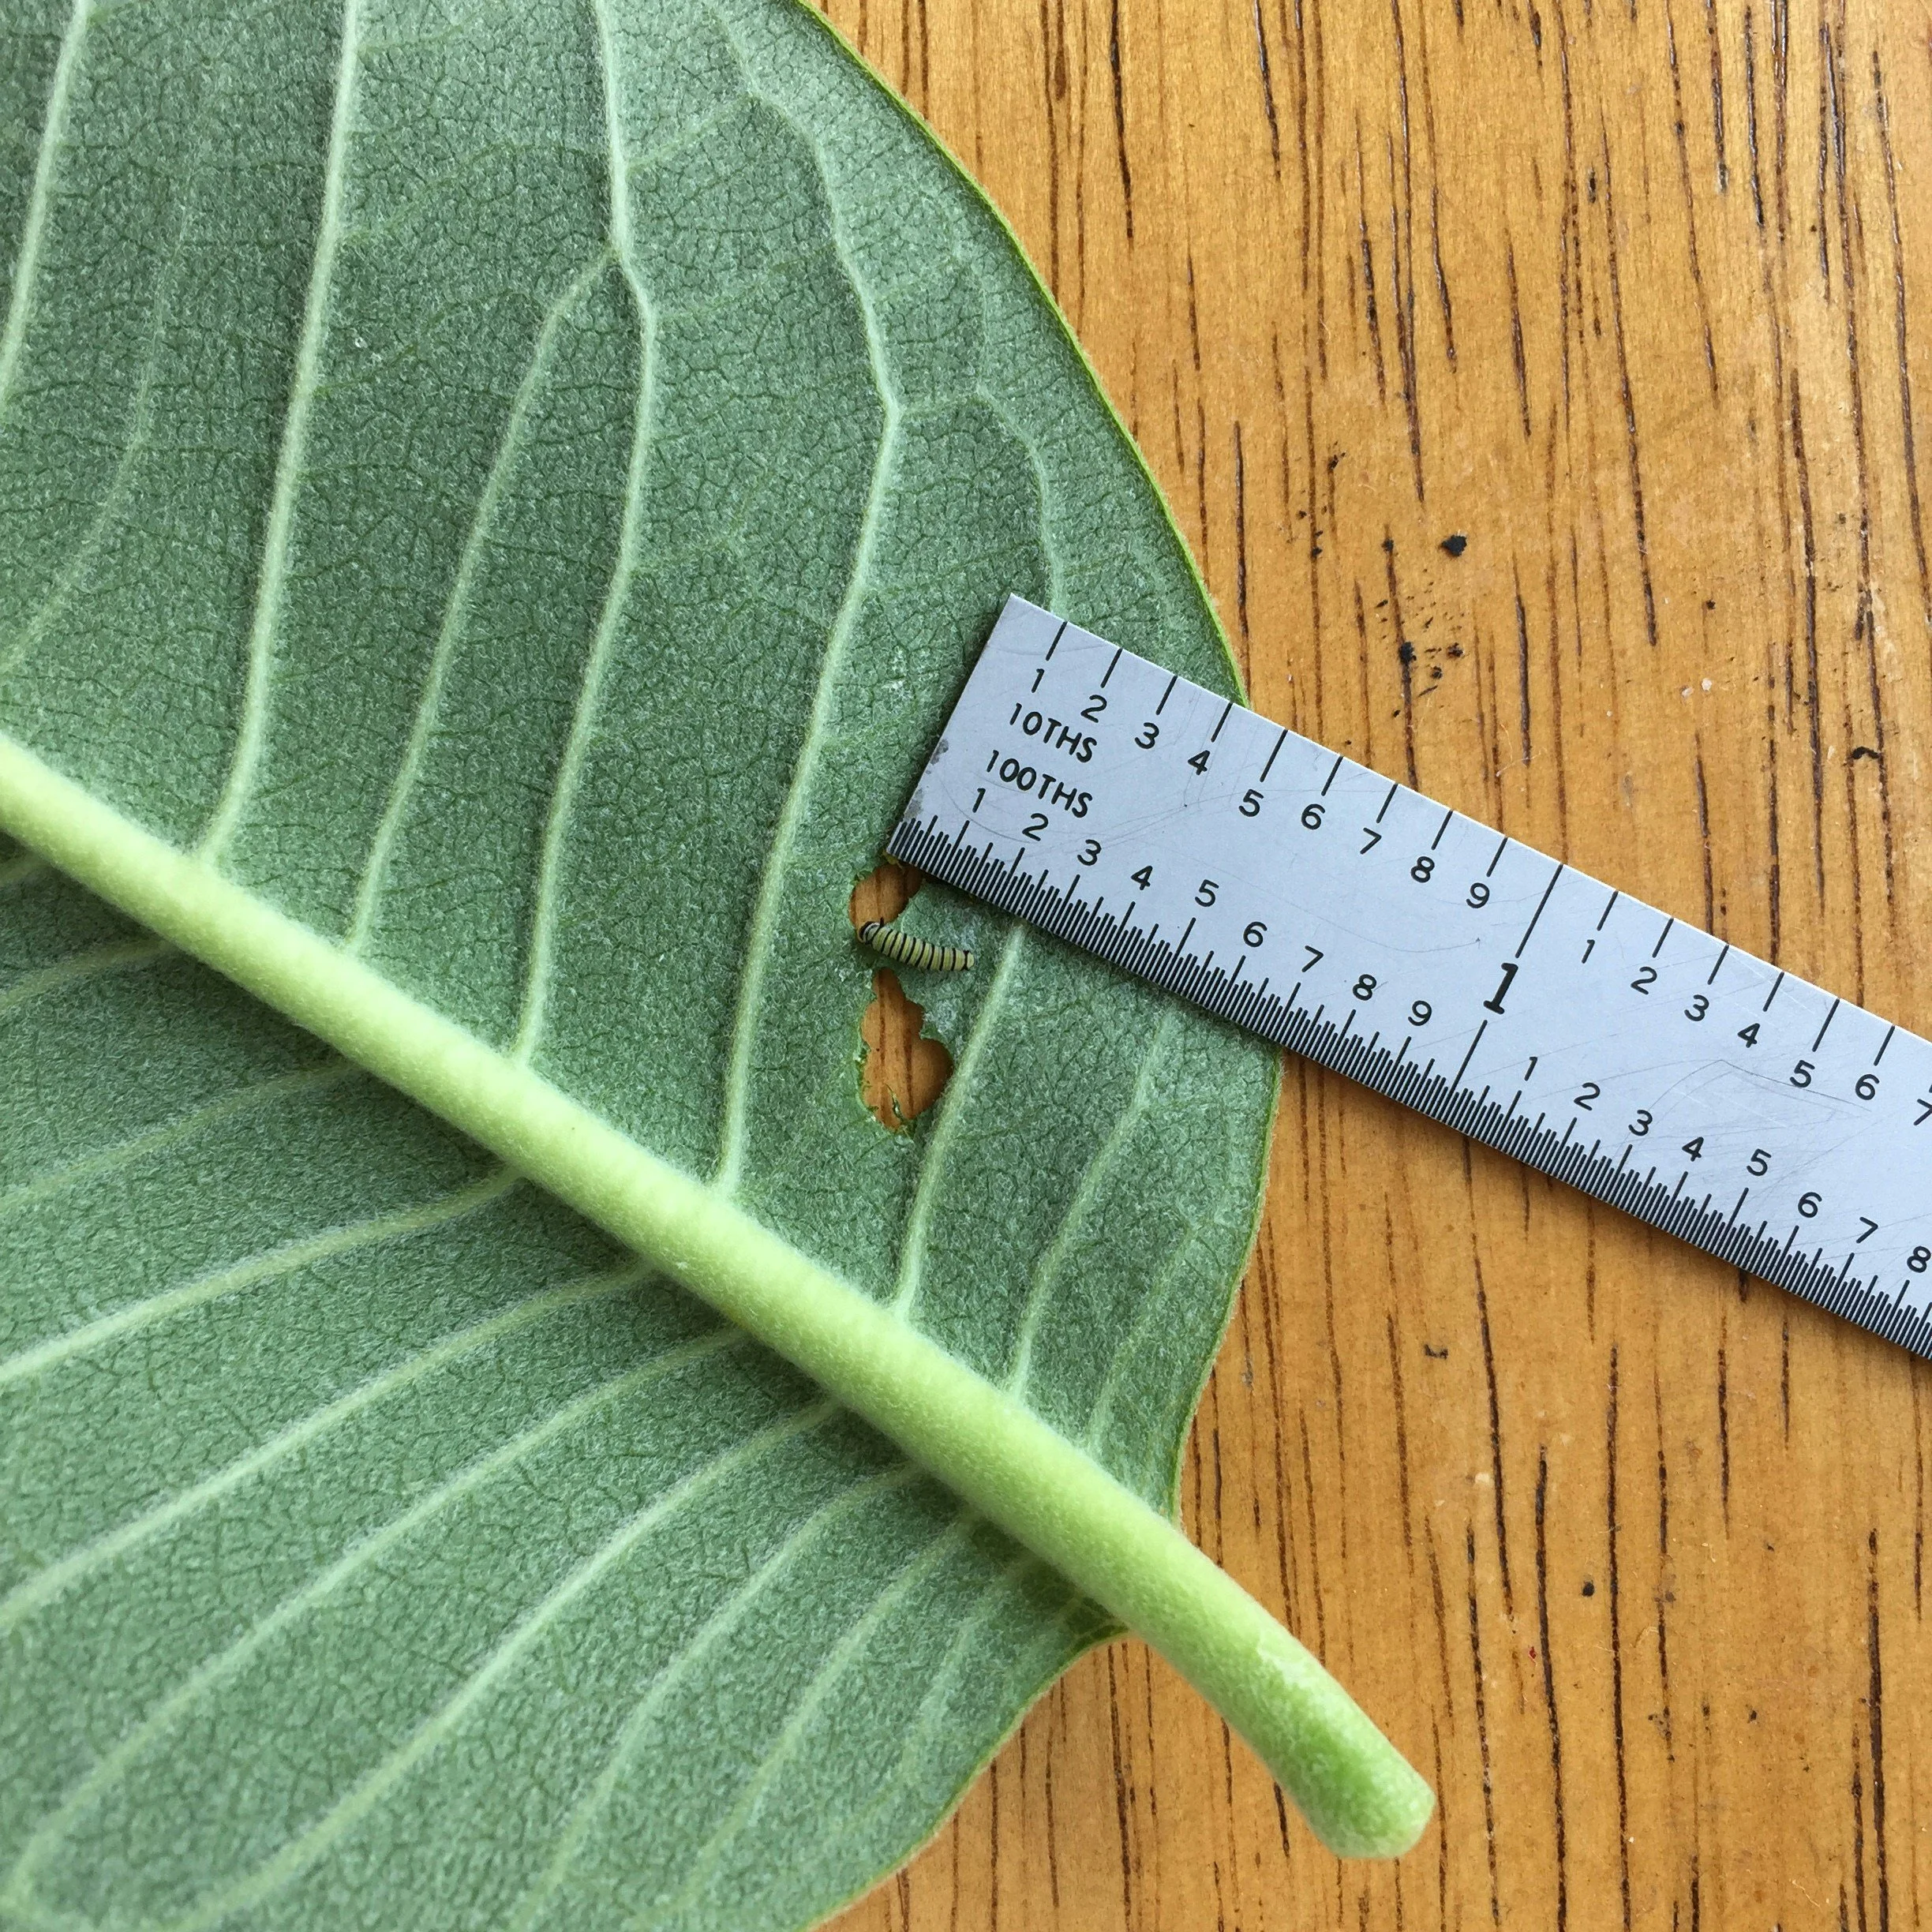
Planting a few beans in clear containers also allows children to observe the roots and shoots emerging. Measure the plants as they grow using hands, sticks, cubes, string or rulers.
Remember: autumn sowing is best suited to hardy varieties in mild, sheltered and well-drained locations. Protect young plants during prolonged cold weather and watch for slugs, snails and mice.
What to Harvest
Apples
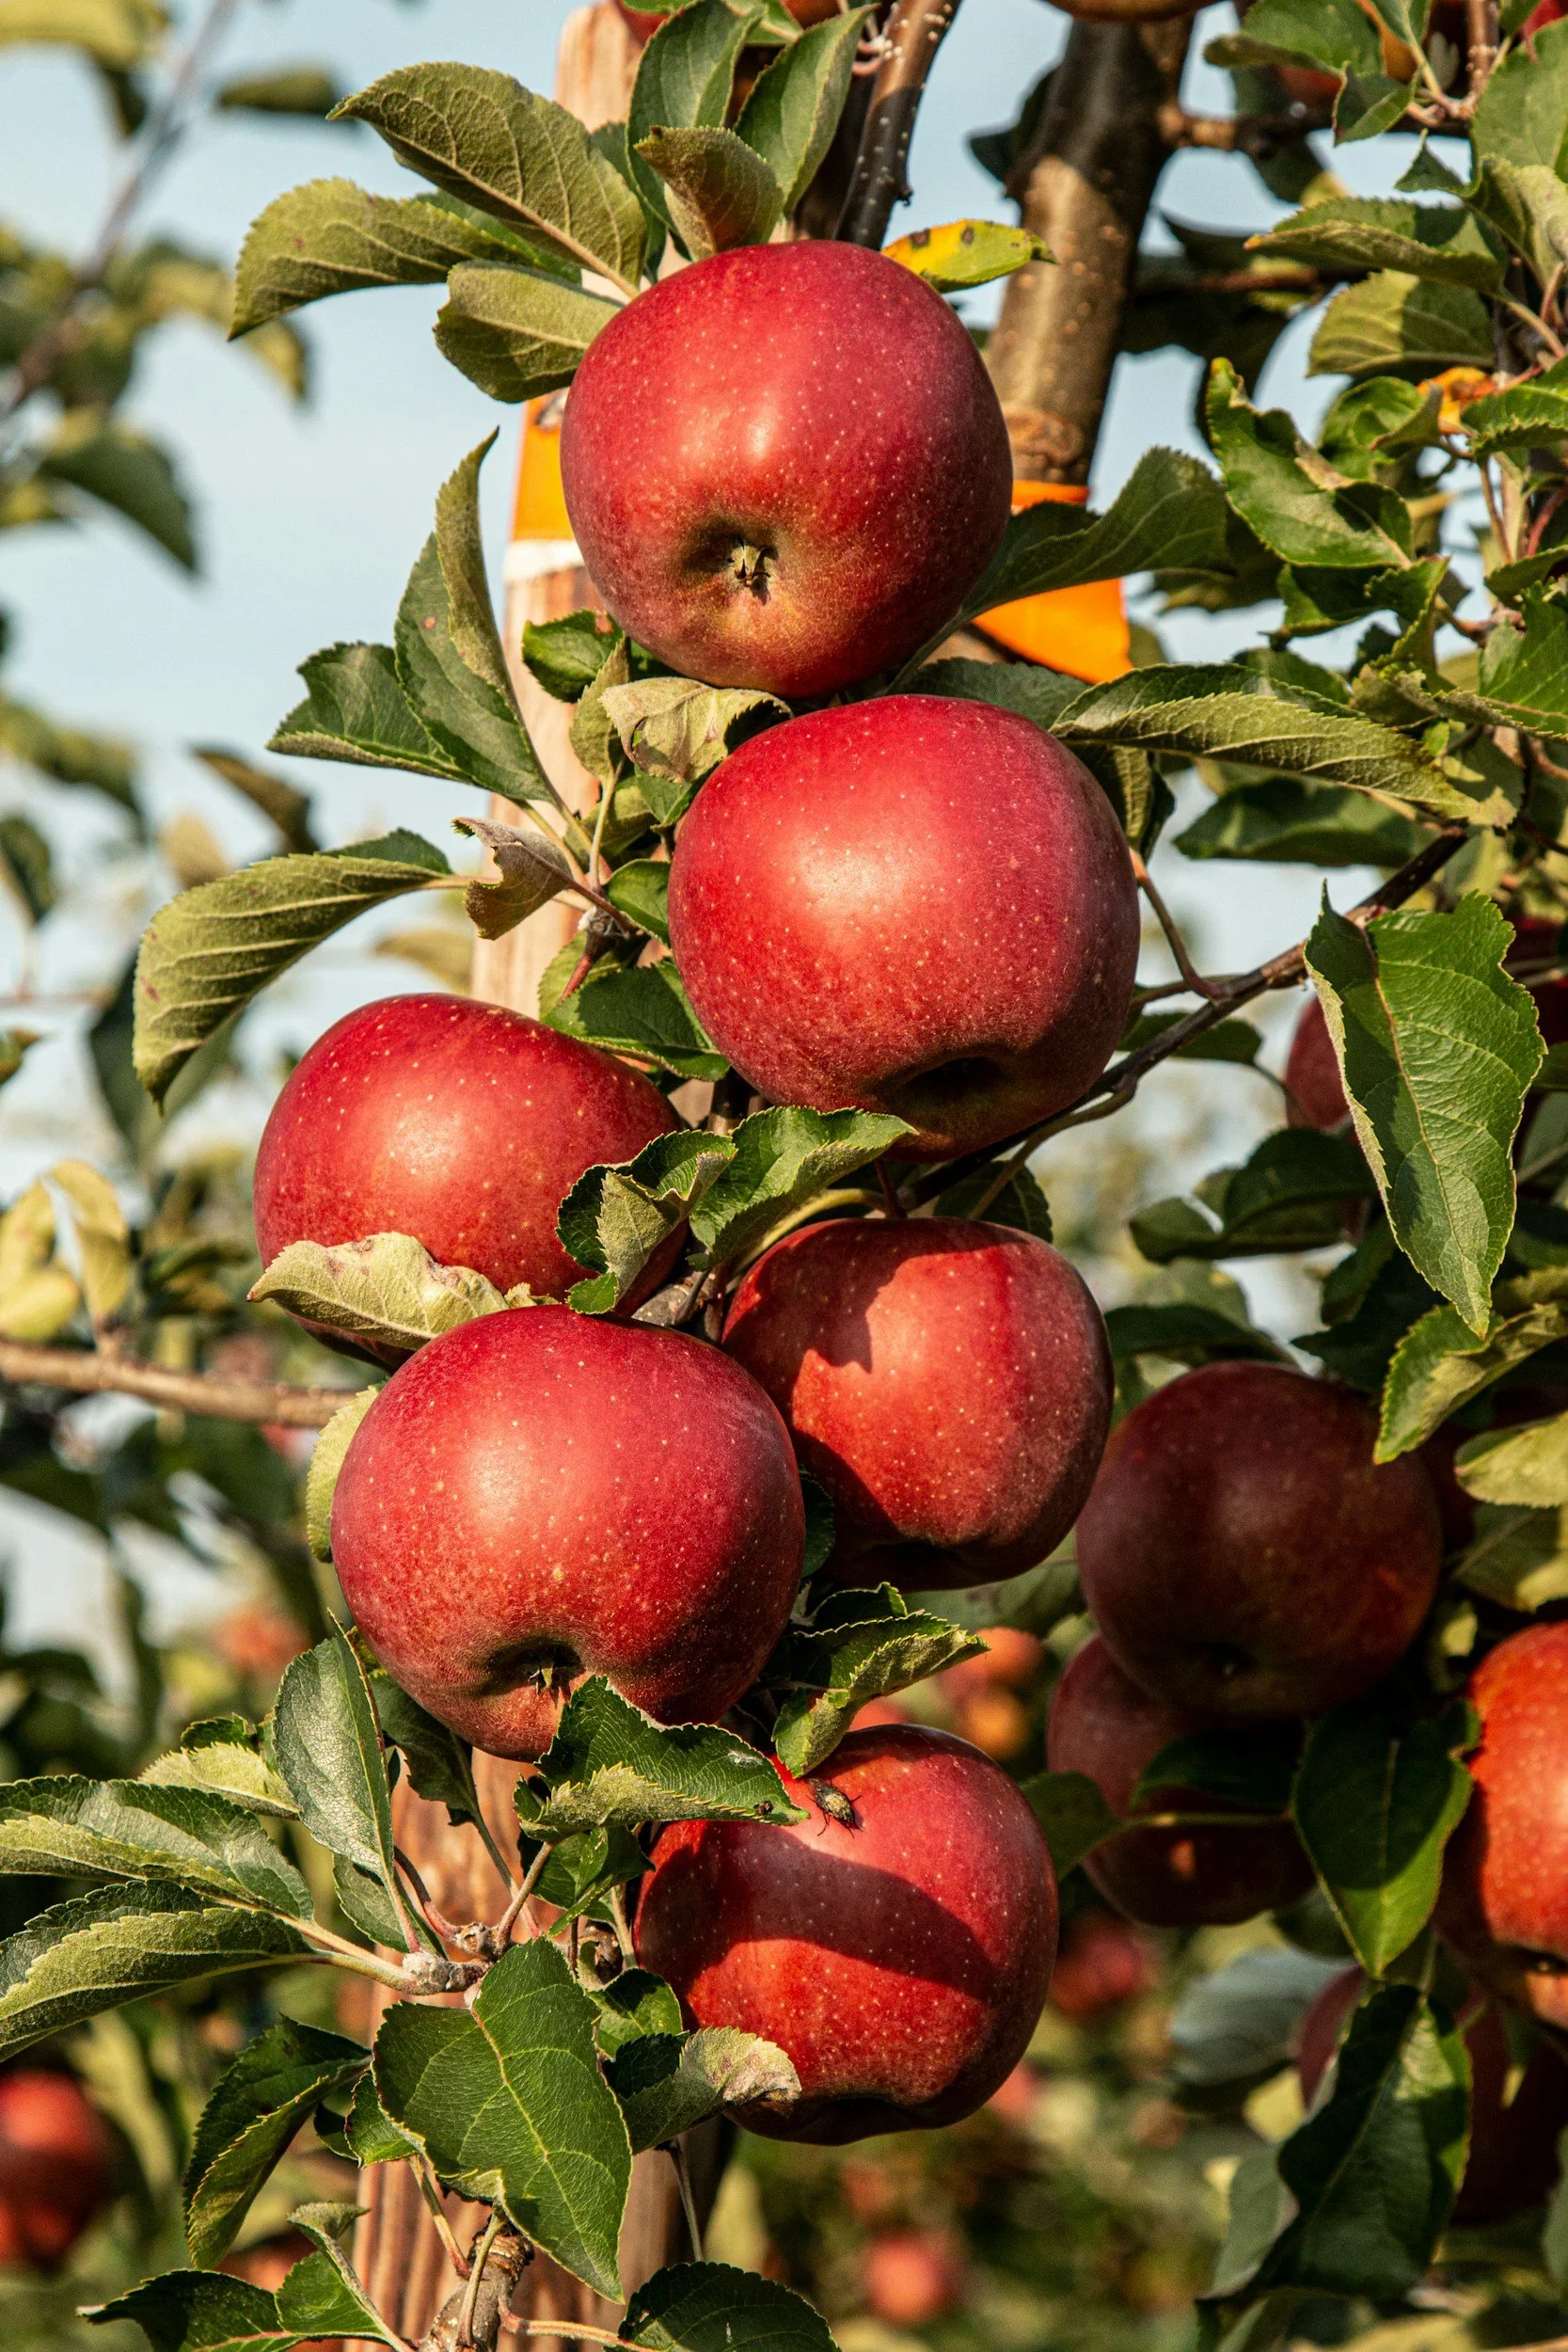
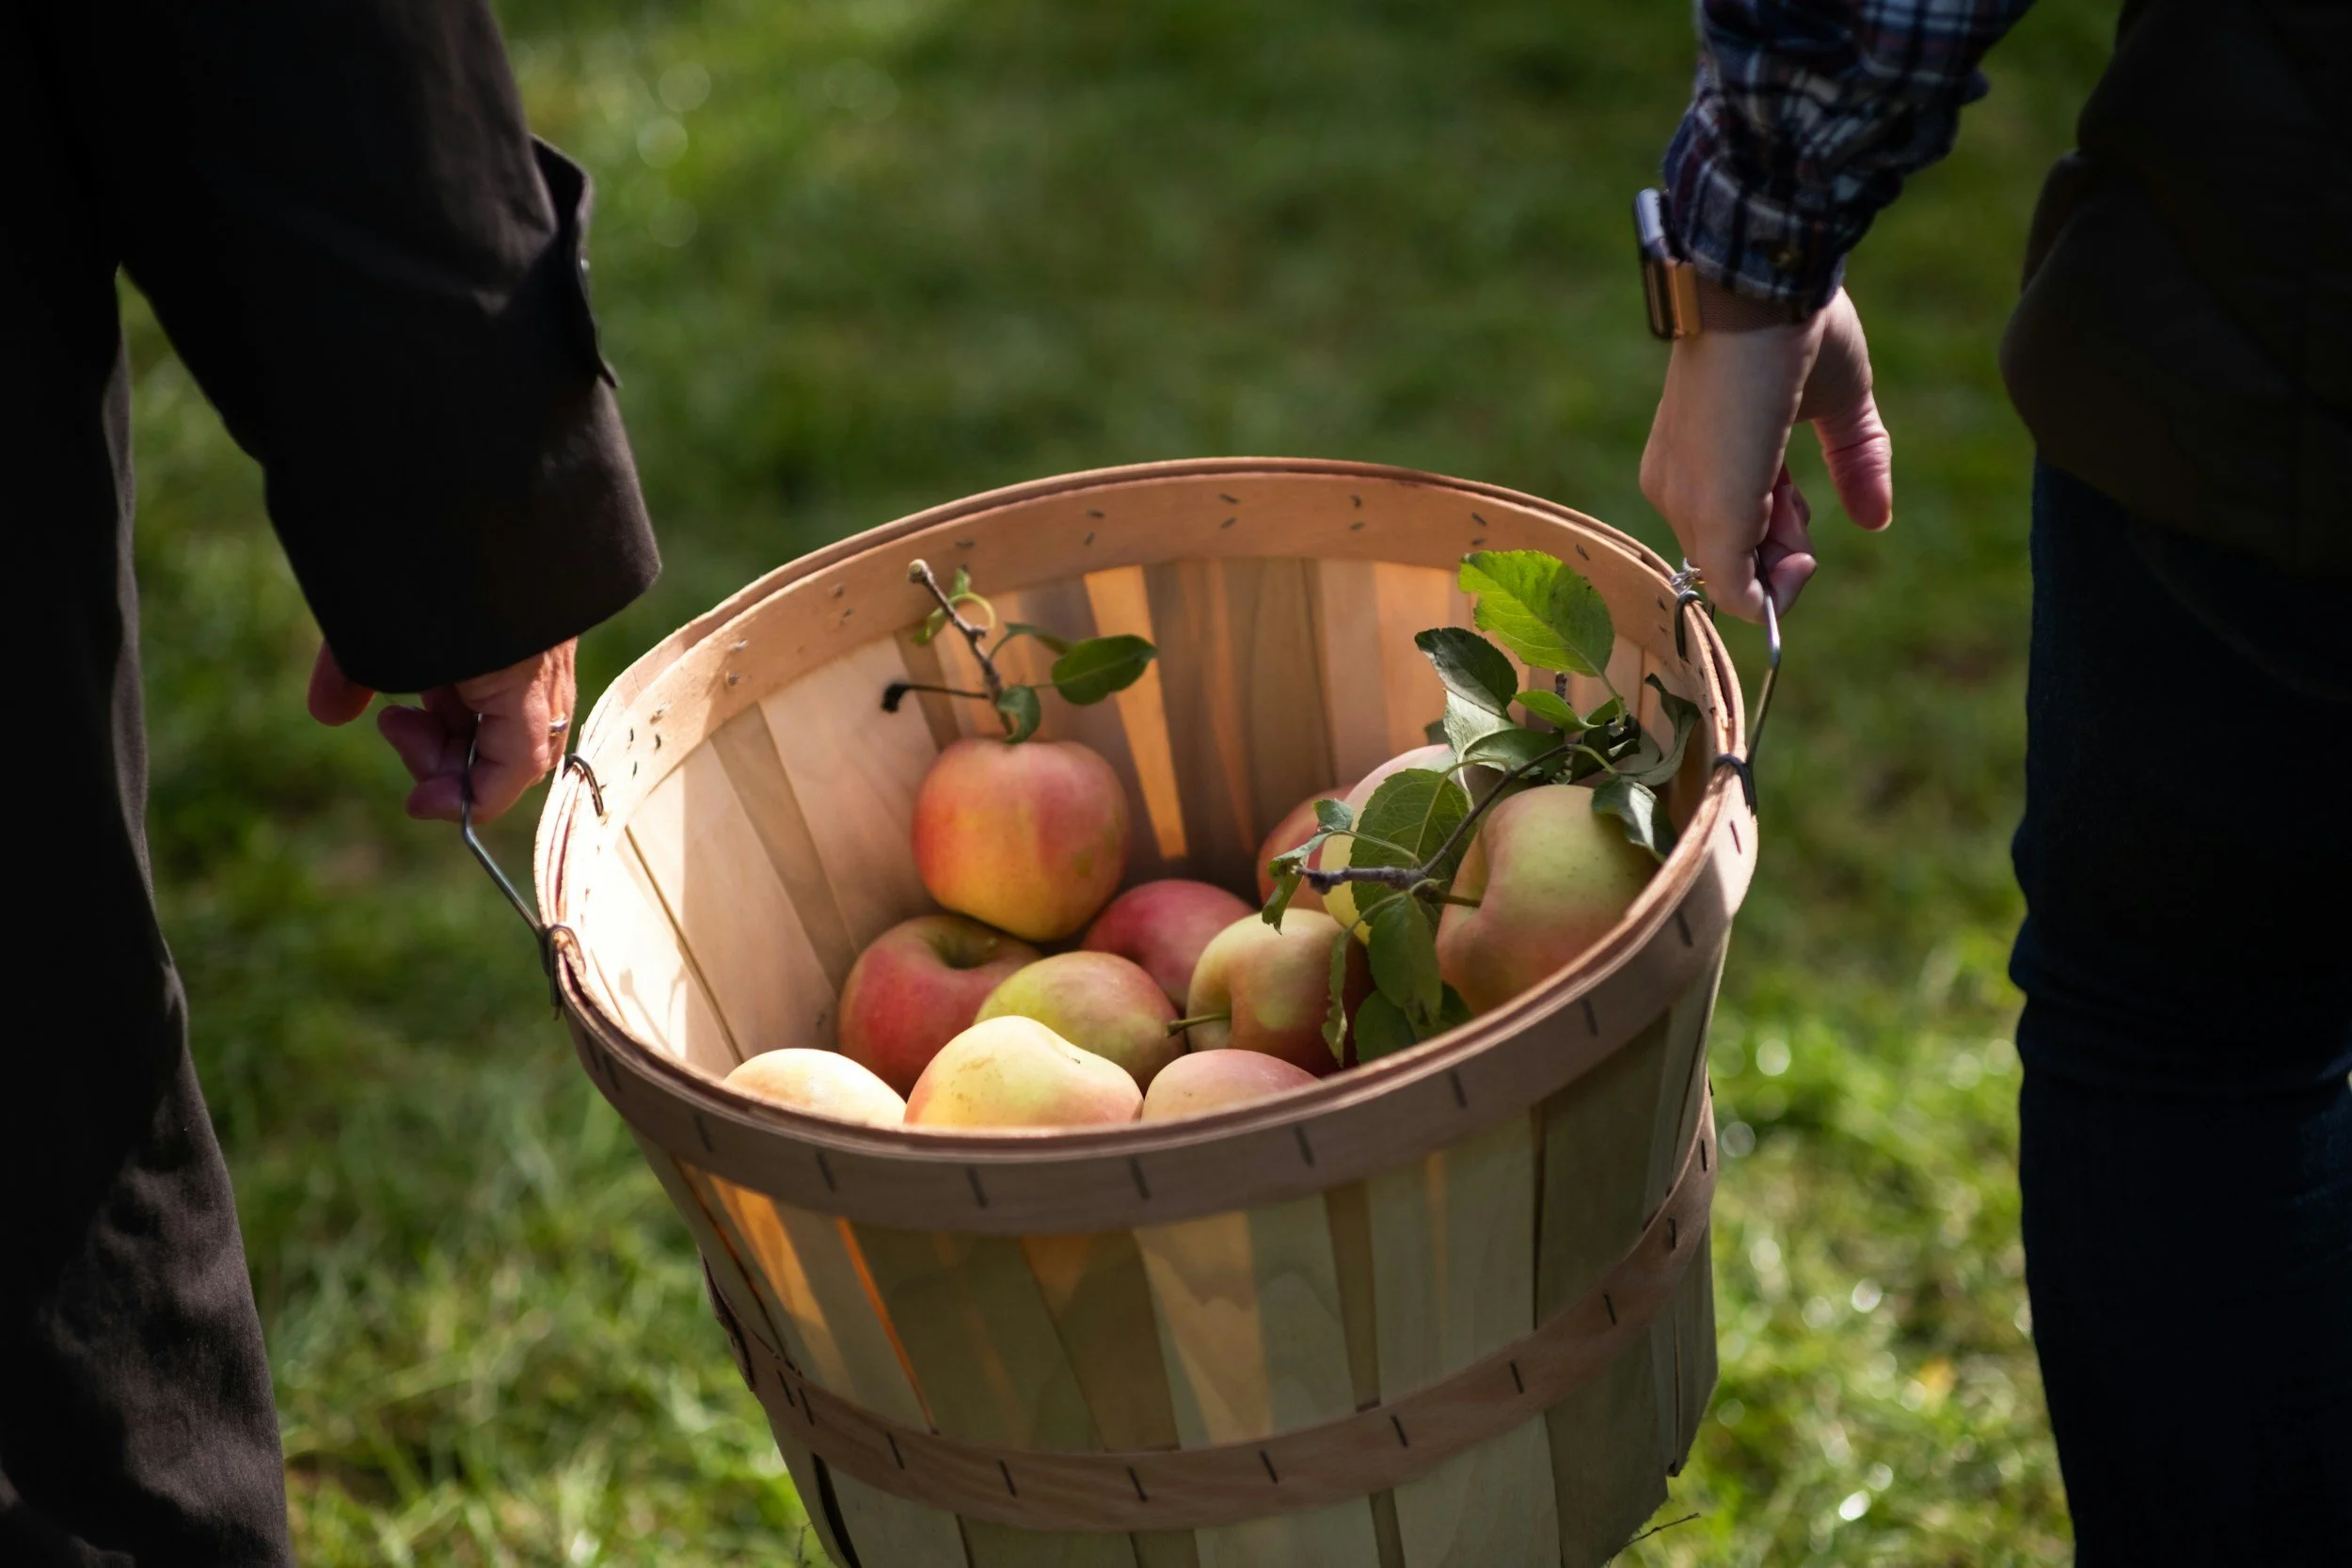
Apples are one of autumn’s most recognisable harvests. Picking, examining and tasting them helps children understand where food comes from while developing sensory language, fine-motor skills and an awareness of seasonal change.
Where to Find Apples
Begin by checking your nursery garden or grounds for established apple trees. You may also find apples through:
Local community orchards
Allotments or community gardens
Nearby farms offering apple picking
Families, neighbours or staff with surplus garden apples
Windfall apples collected from beneath a known apple tree
Always seek the landowner’s permission before harvesting. An adult should check that the tree and fruit have been correctly identified and that the gathering area is safe.
Avoid collecting fruit beside busy roads or from areas that may have been sprayed or contaminated.
If you do not have access to a tree, bring locally grown apples into the nursery and explore them together.
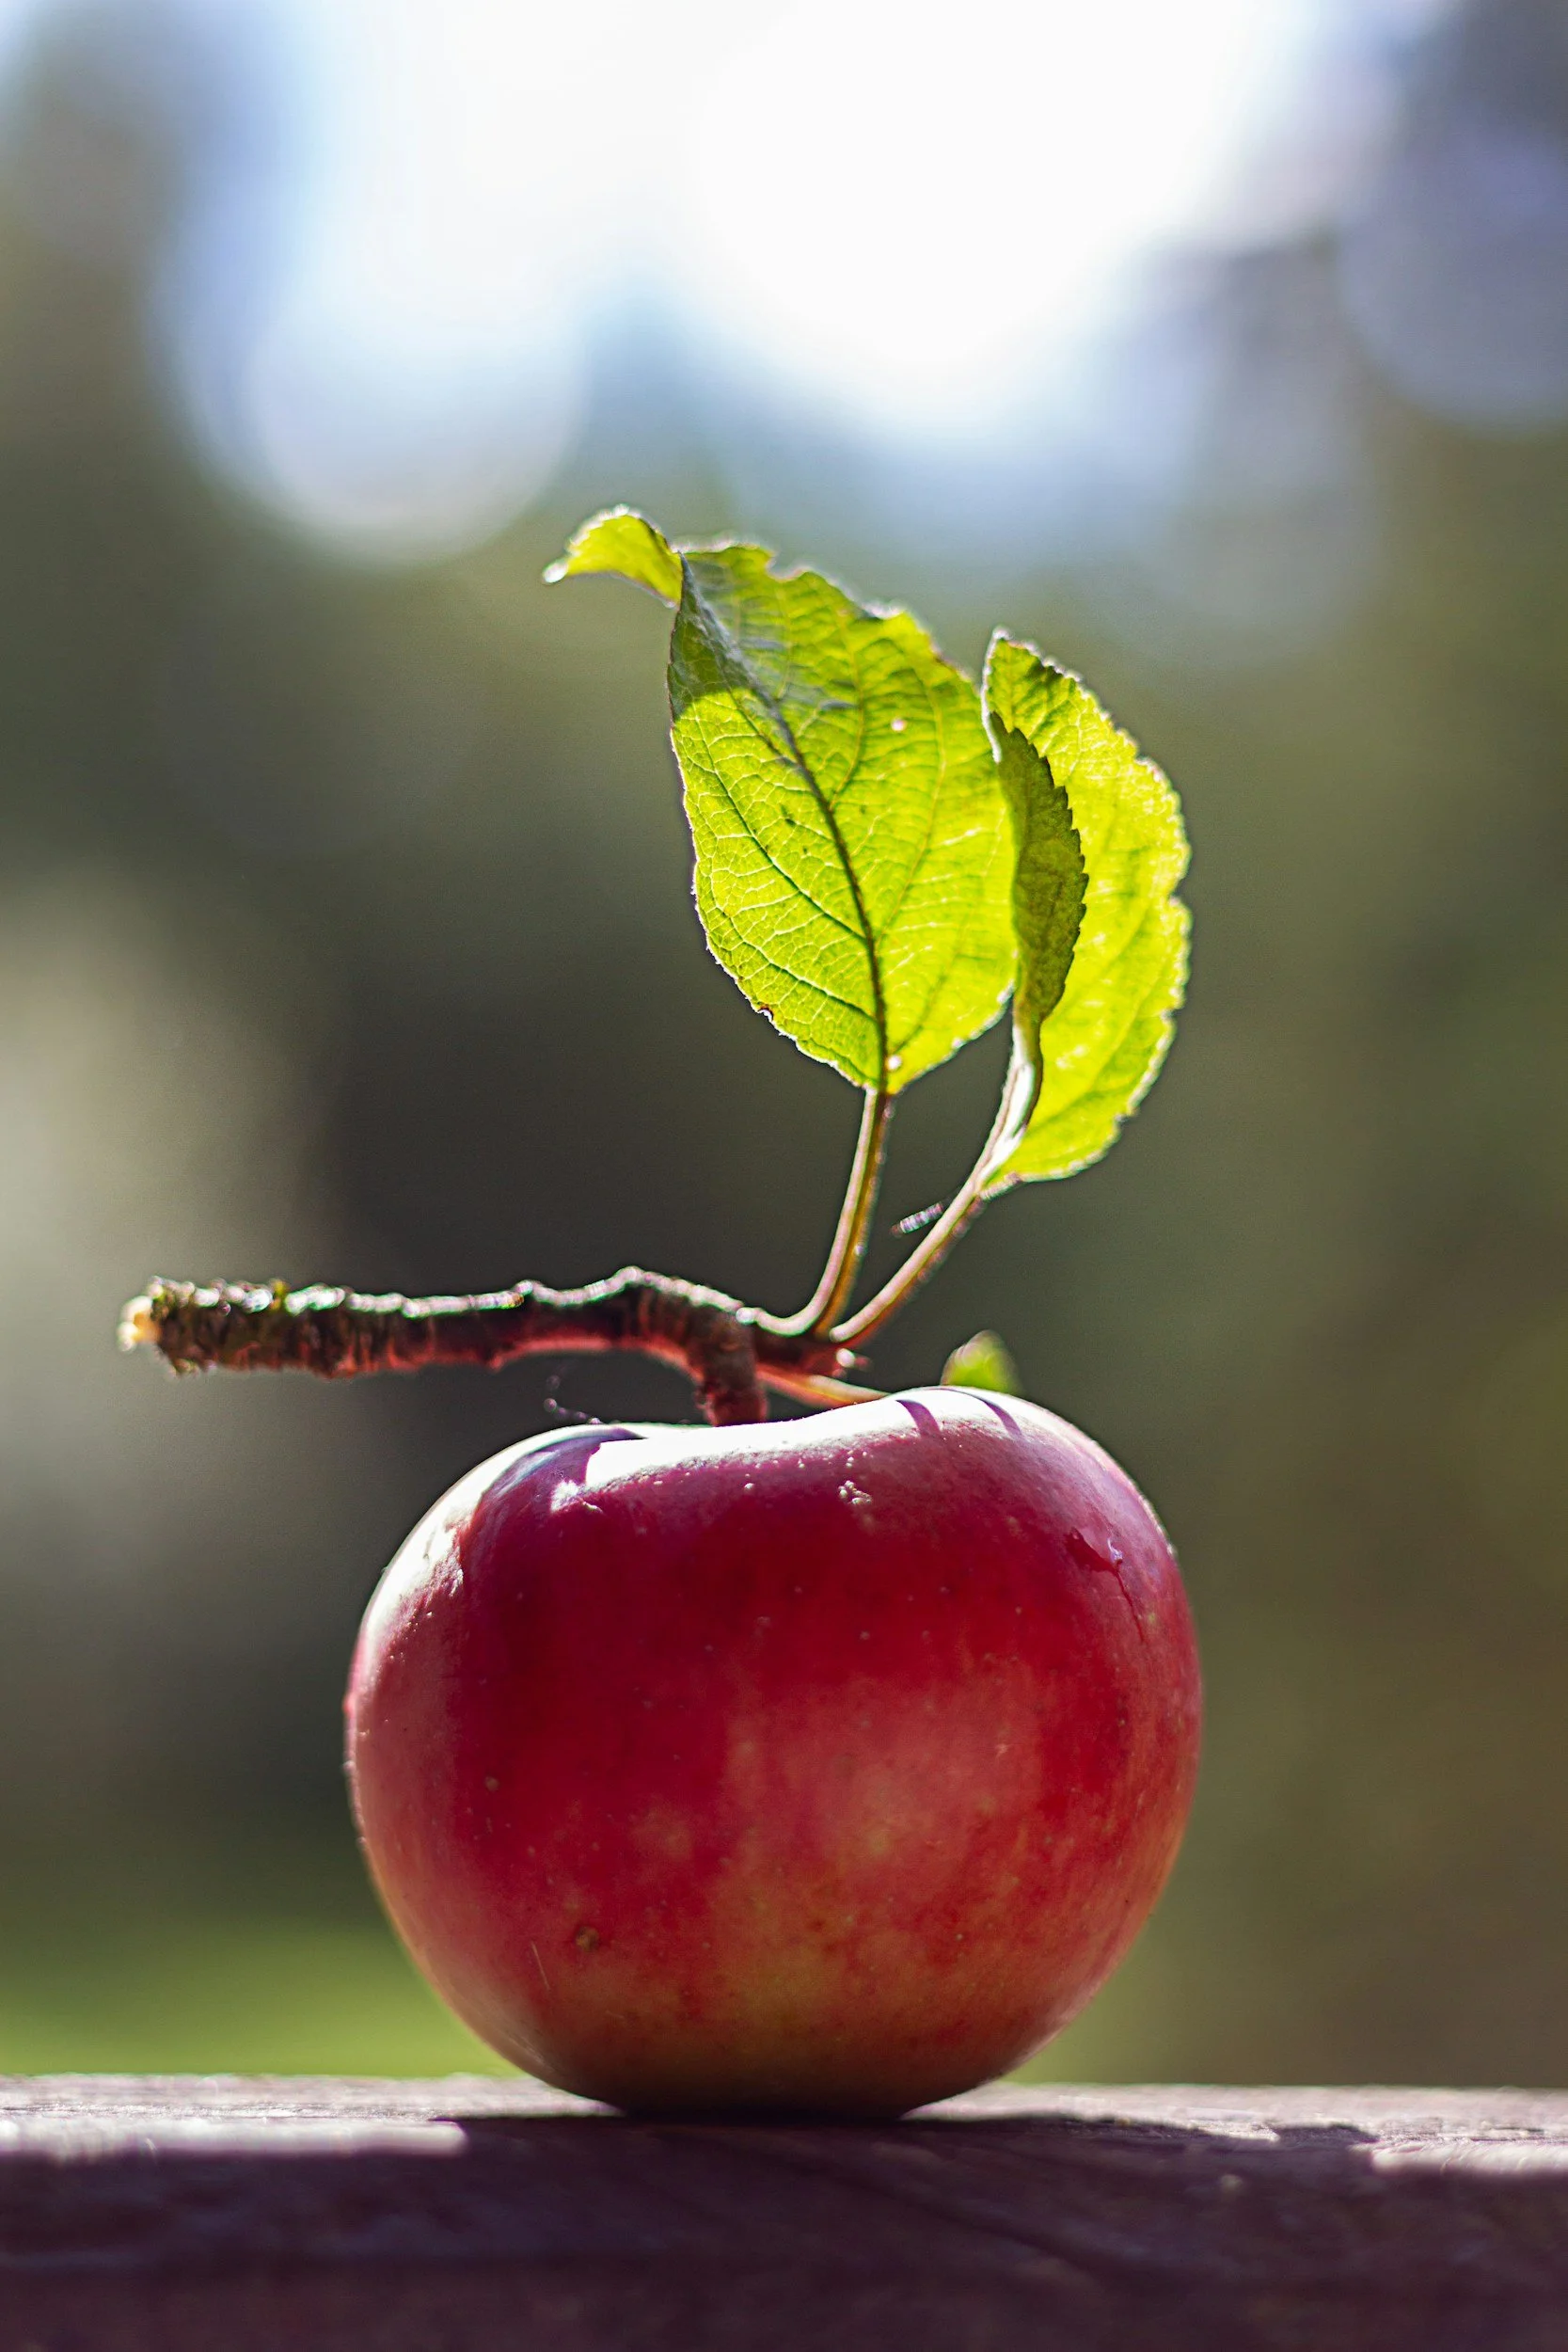
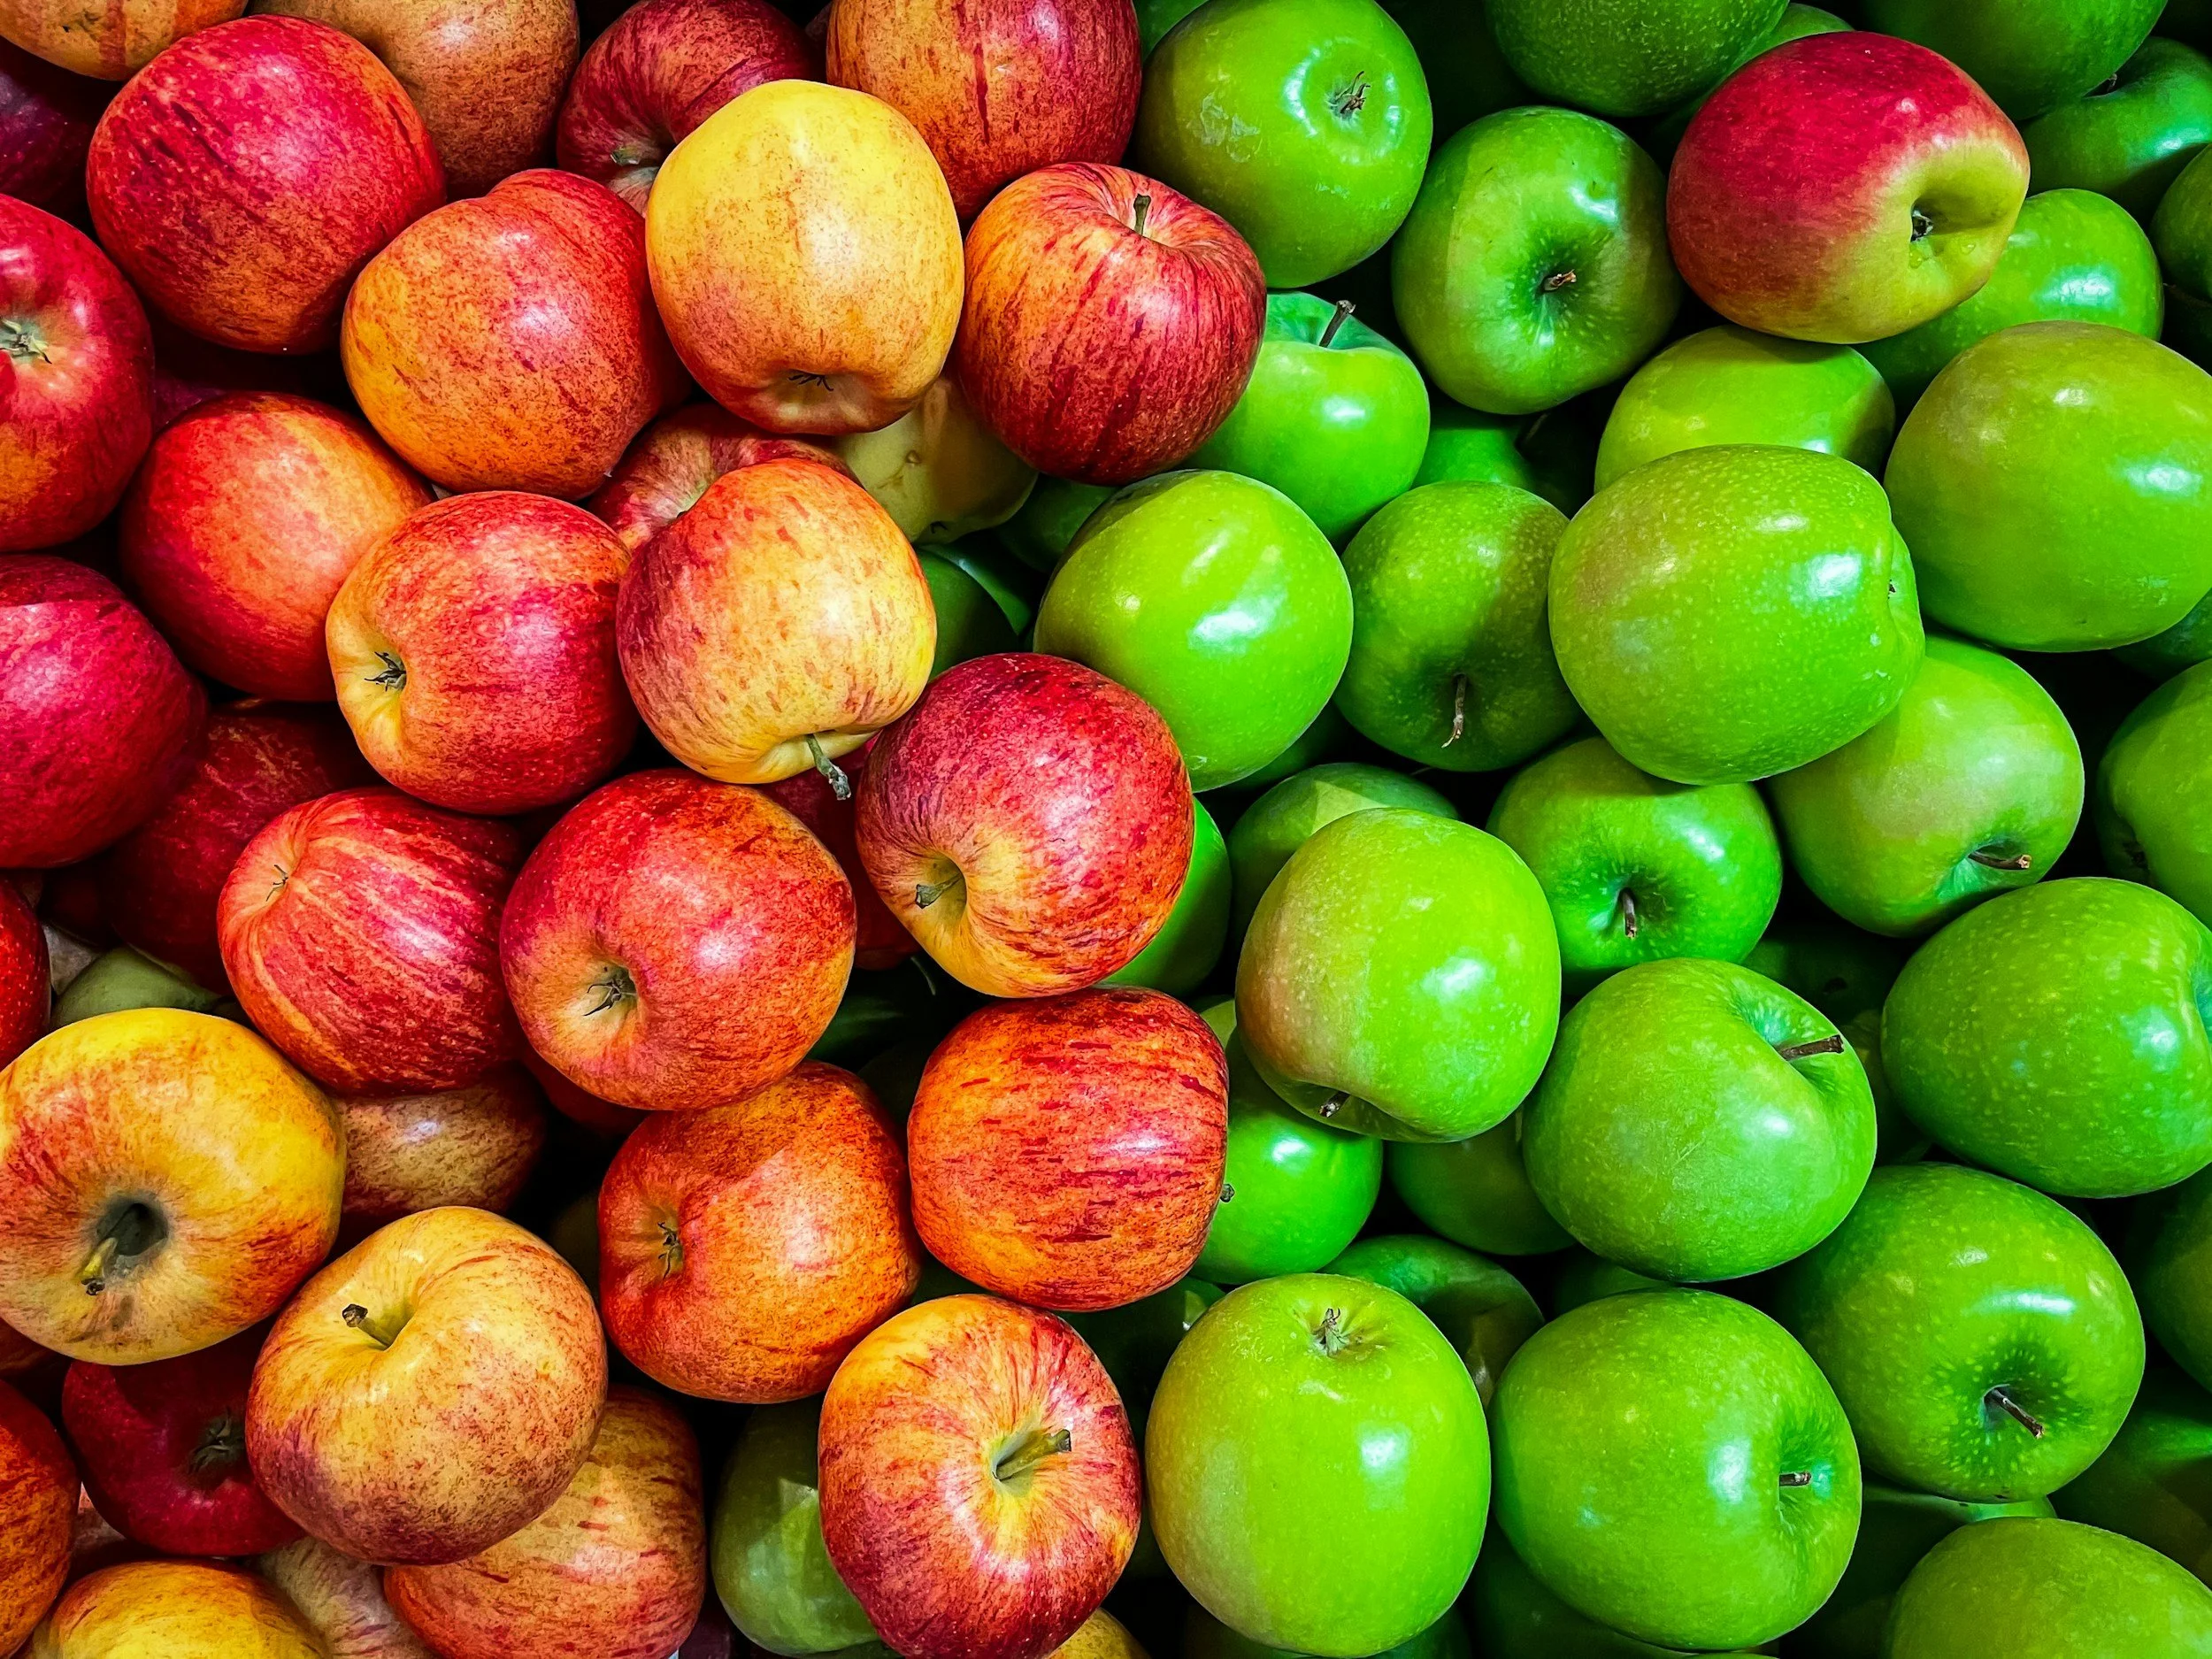
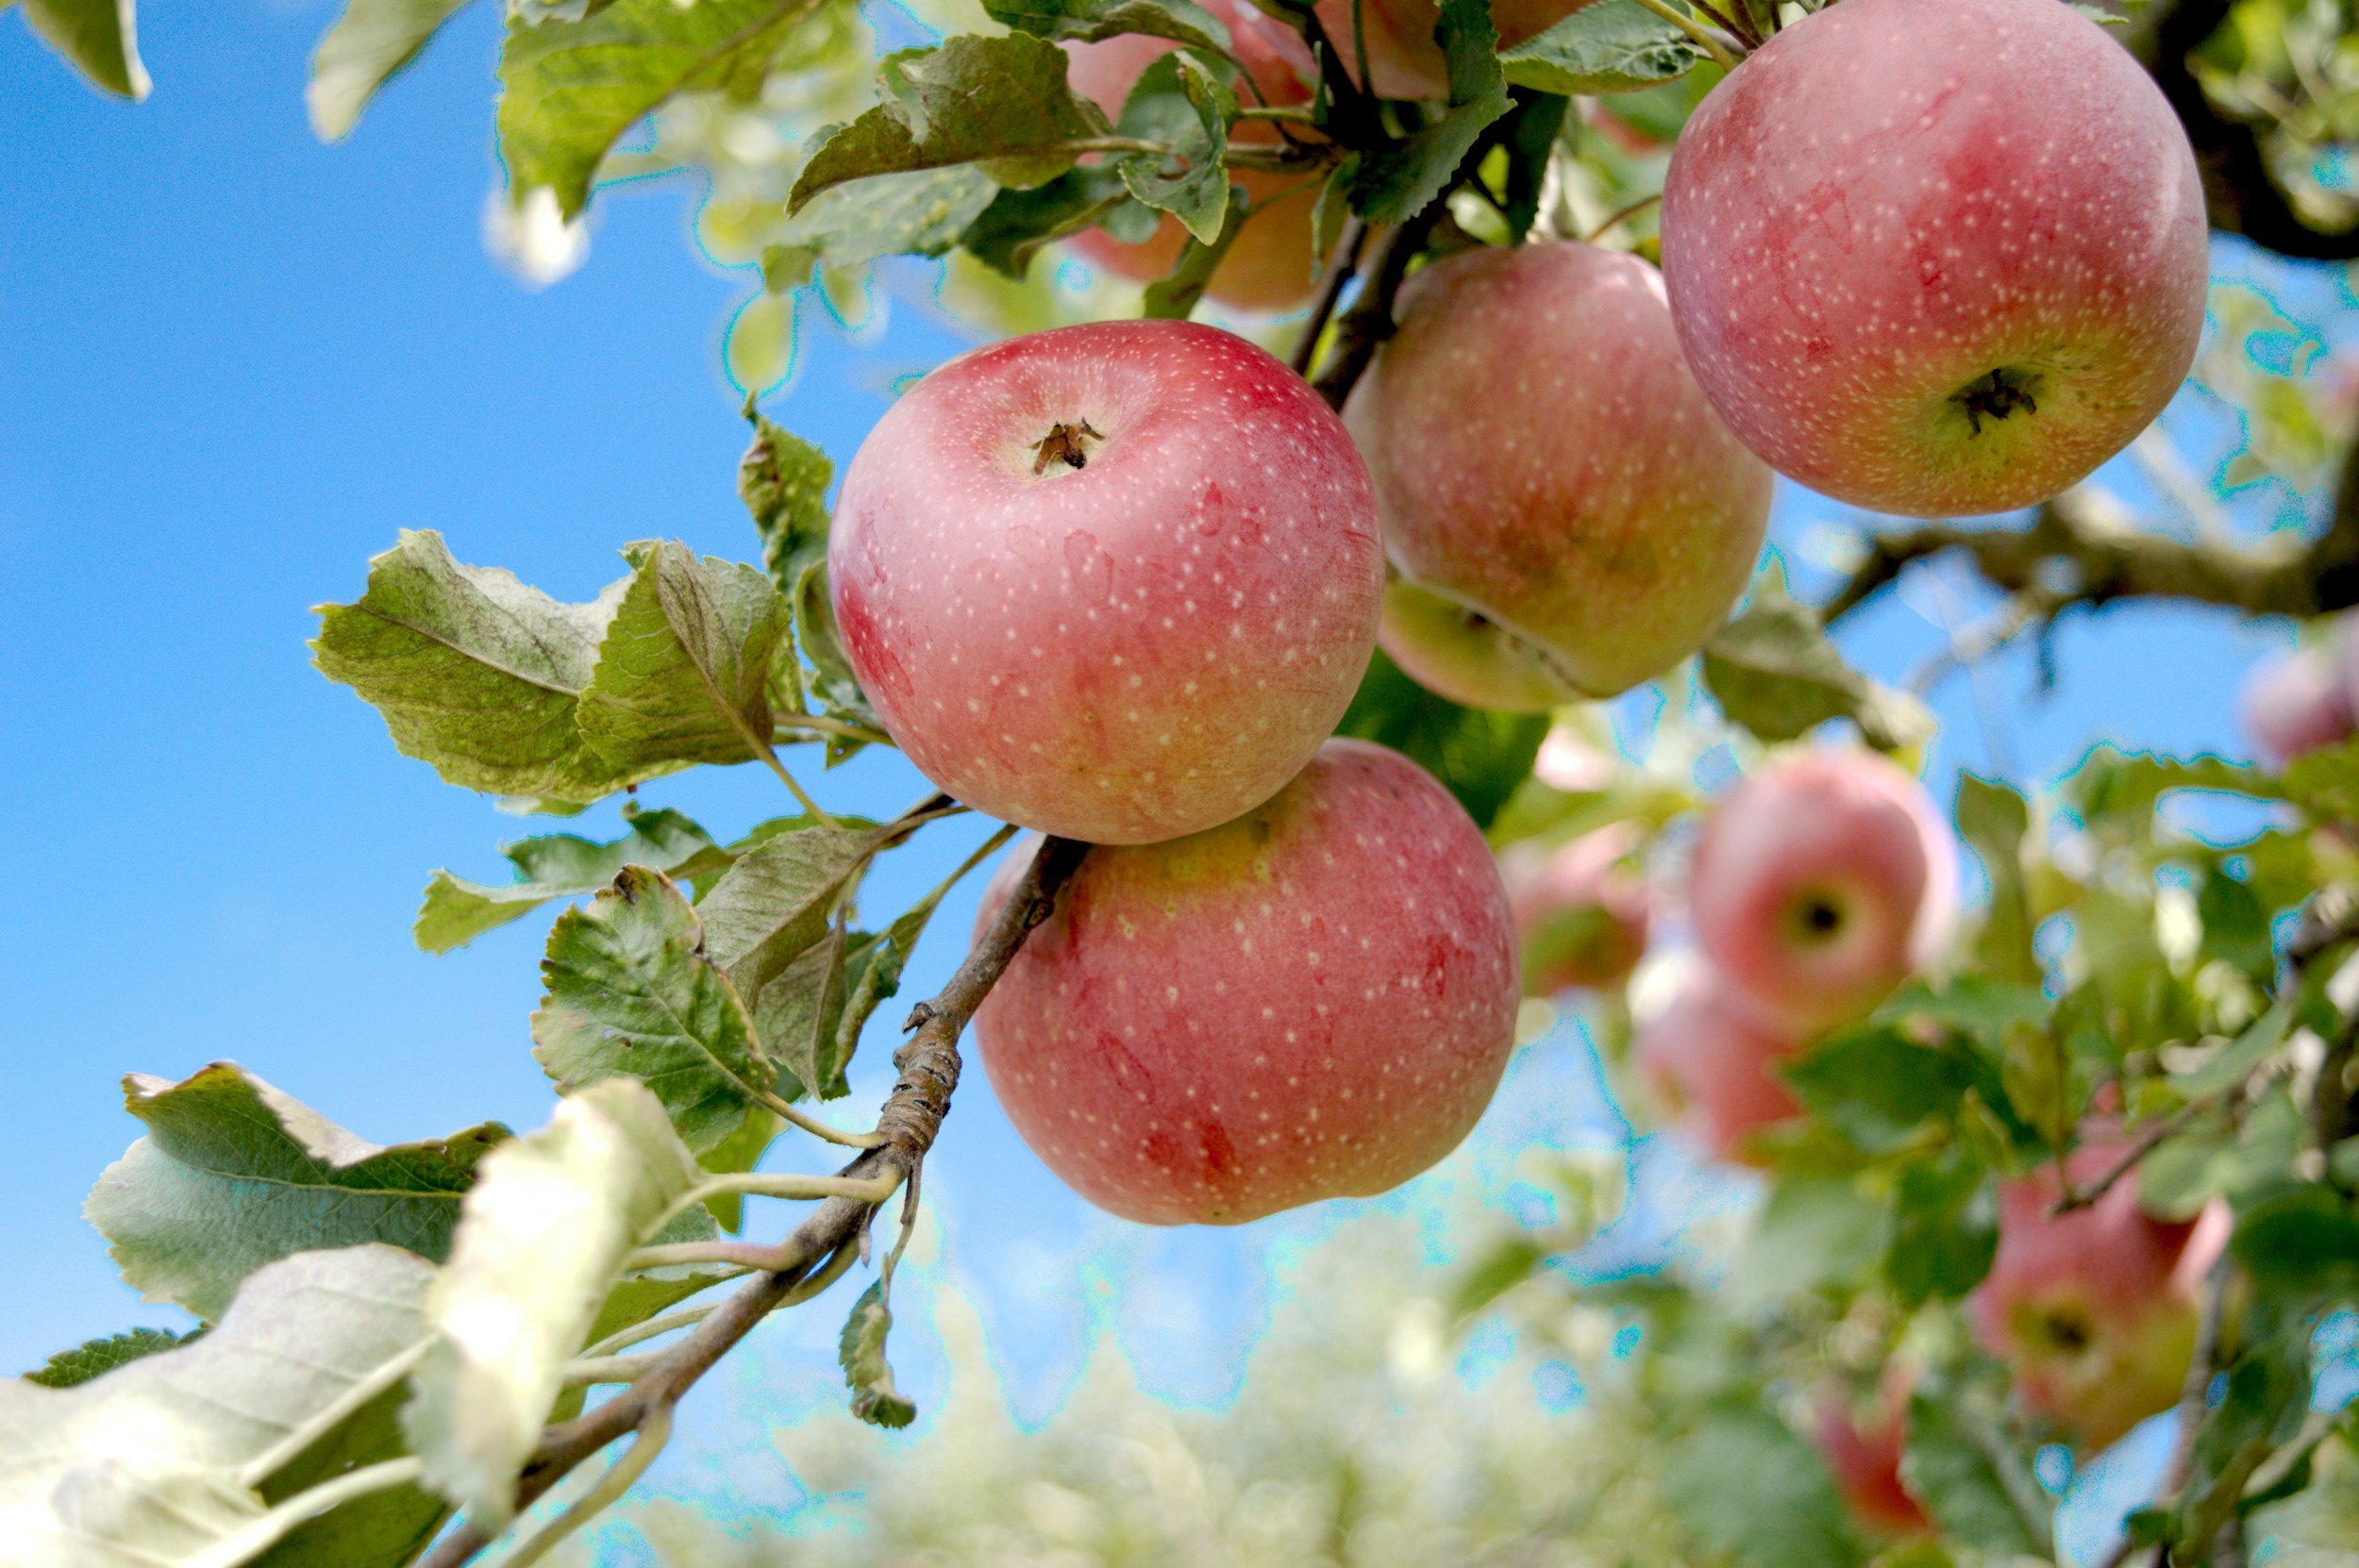
How to Harvest Apples
Look carefully
Choose apples that appear ripe, undamaged and free from mould.
Twist and lift
Hold the apple gently, lift it towards the branch and give it a small twist. A ripe apple should come away easily. Avoid pulling or shaking the tree.
Gather windfalls
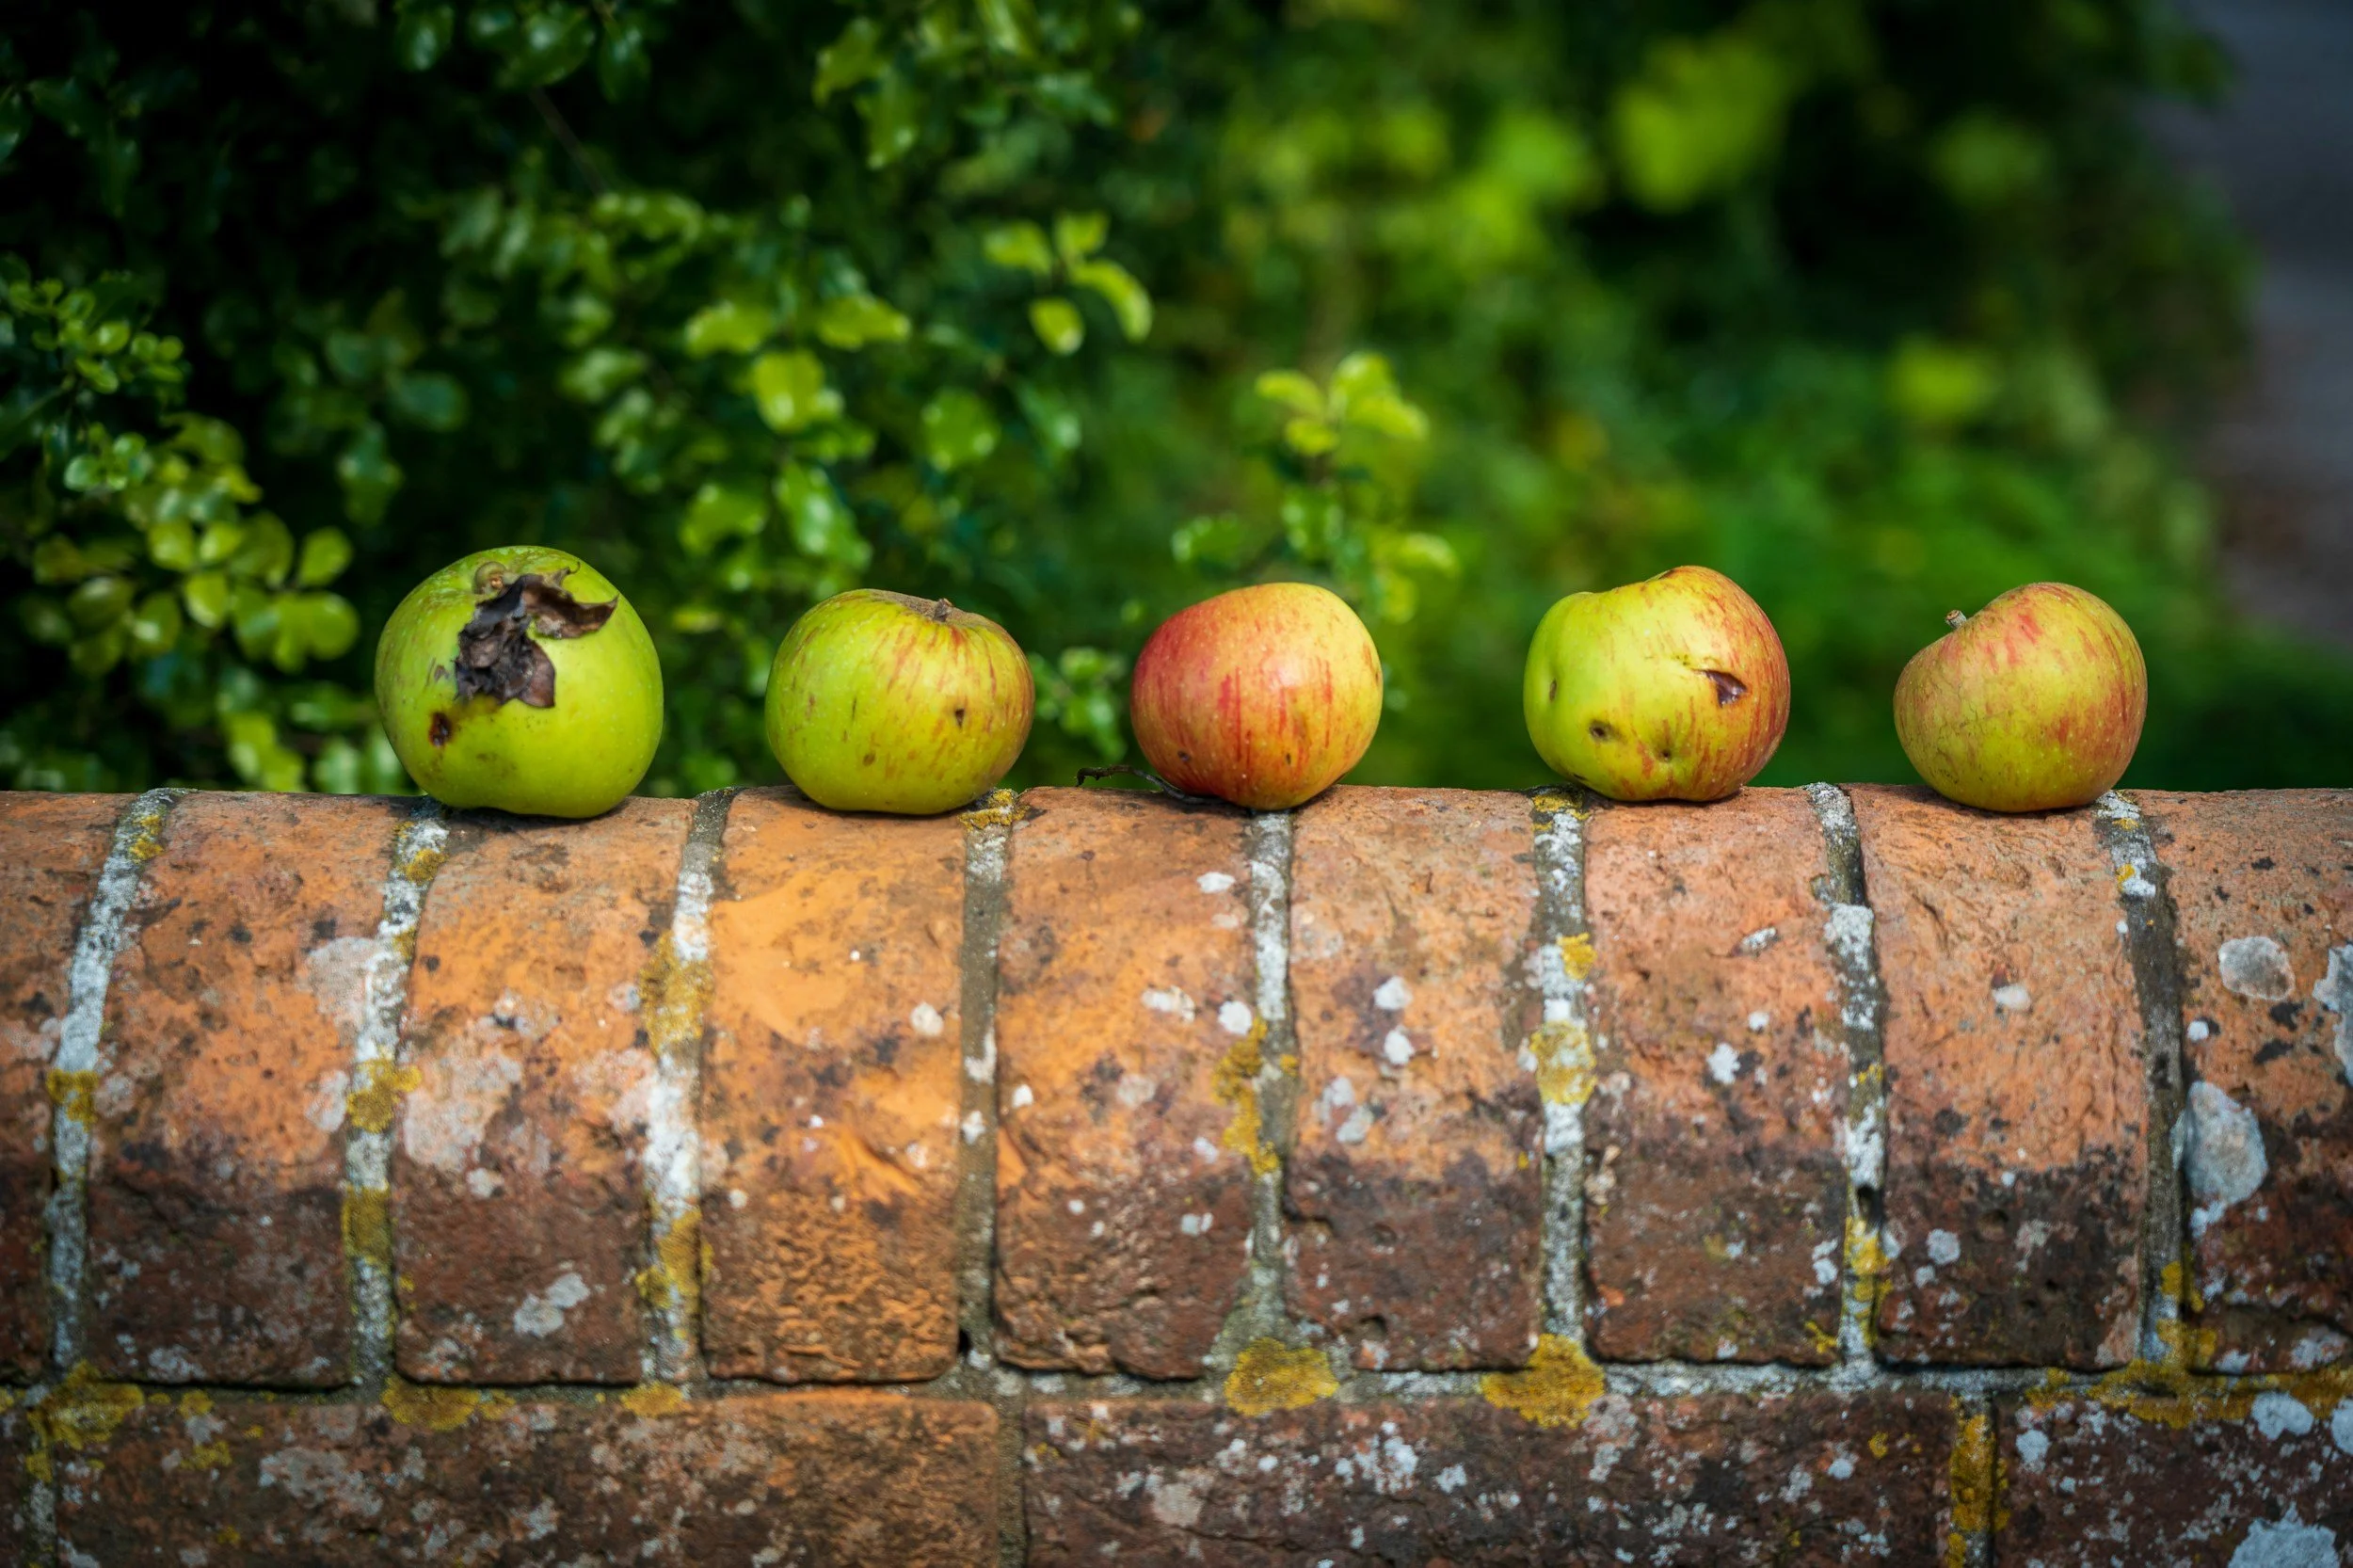
Children can collect recently fallen apples from safe ground. Keep bruised apples separate and use suitable ones promptly for cooking or wildlife activities.
Sort and inspect
Compare the apples by colour, size, shape, smell and texture. Look for bruises, insect holes and other interesting marks.
Wash thoroughly
Wash all fruit before tasting or cooking. An adult should cut the apples and remove damaged areas.
Explore, Taste and Cook
Offer small slices of different apple varieties and invite children to compare them. Are they sweet, sharp, soft, juicy or crunchy? If possible, compare a cooking apple with a dessert apple.
Use the harvest to make a simple apple crumble. Late blackberries may also still be available in some areas and can be added to the fruit. Only pick blackberries that an adult can confidently identify, and collect them away from roads, sprayed areas and places used by dogs. Wash all harvested fruit thoroughly.
Children can take part in the process:
Pick → Wash → Chop with adult support → Mix → Cook → Taste
Use Windfalls to Support Wildlife
Apples that are safe but unsuitable for eating can be turned into simple bird feeders. An adult can make a hole through the apple and thread it securely with natural twine. Children can then press sunflower seeds, oats or pumpkin seeds into the flesh before hanging it from a suitable branch.
Choose a quiet position and return regularly to observe which birds visit. This opens conversations about what wildlife needs as the weather becomes colder.
Practitioner Reminder
Complete your usual risk assessment before gardening, harvesting, cooking or using tools. Check allergies and dietary requirements, supervise children closely and ensure all harvested food is correctly identified, washed and prepared safely.